こんにちは、コンスキです。
今回は「DaVinci Resolve」を使って画面が動くパソコンの模型を作る方法をご紹介します。
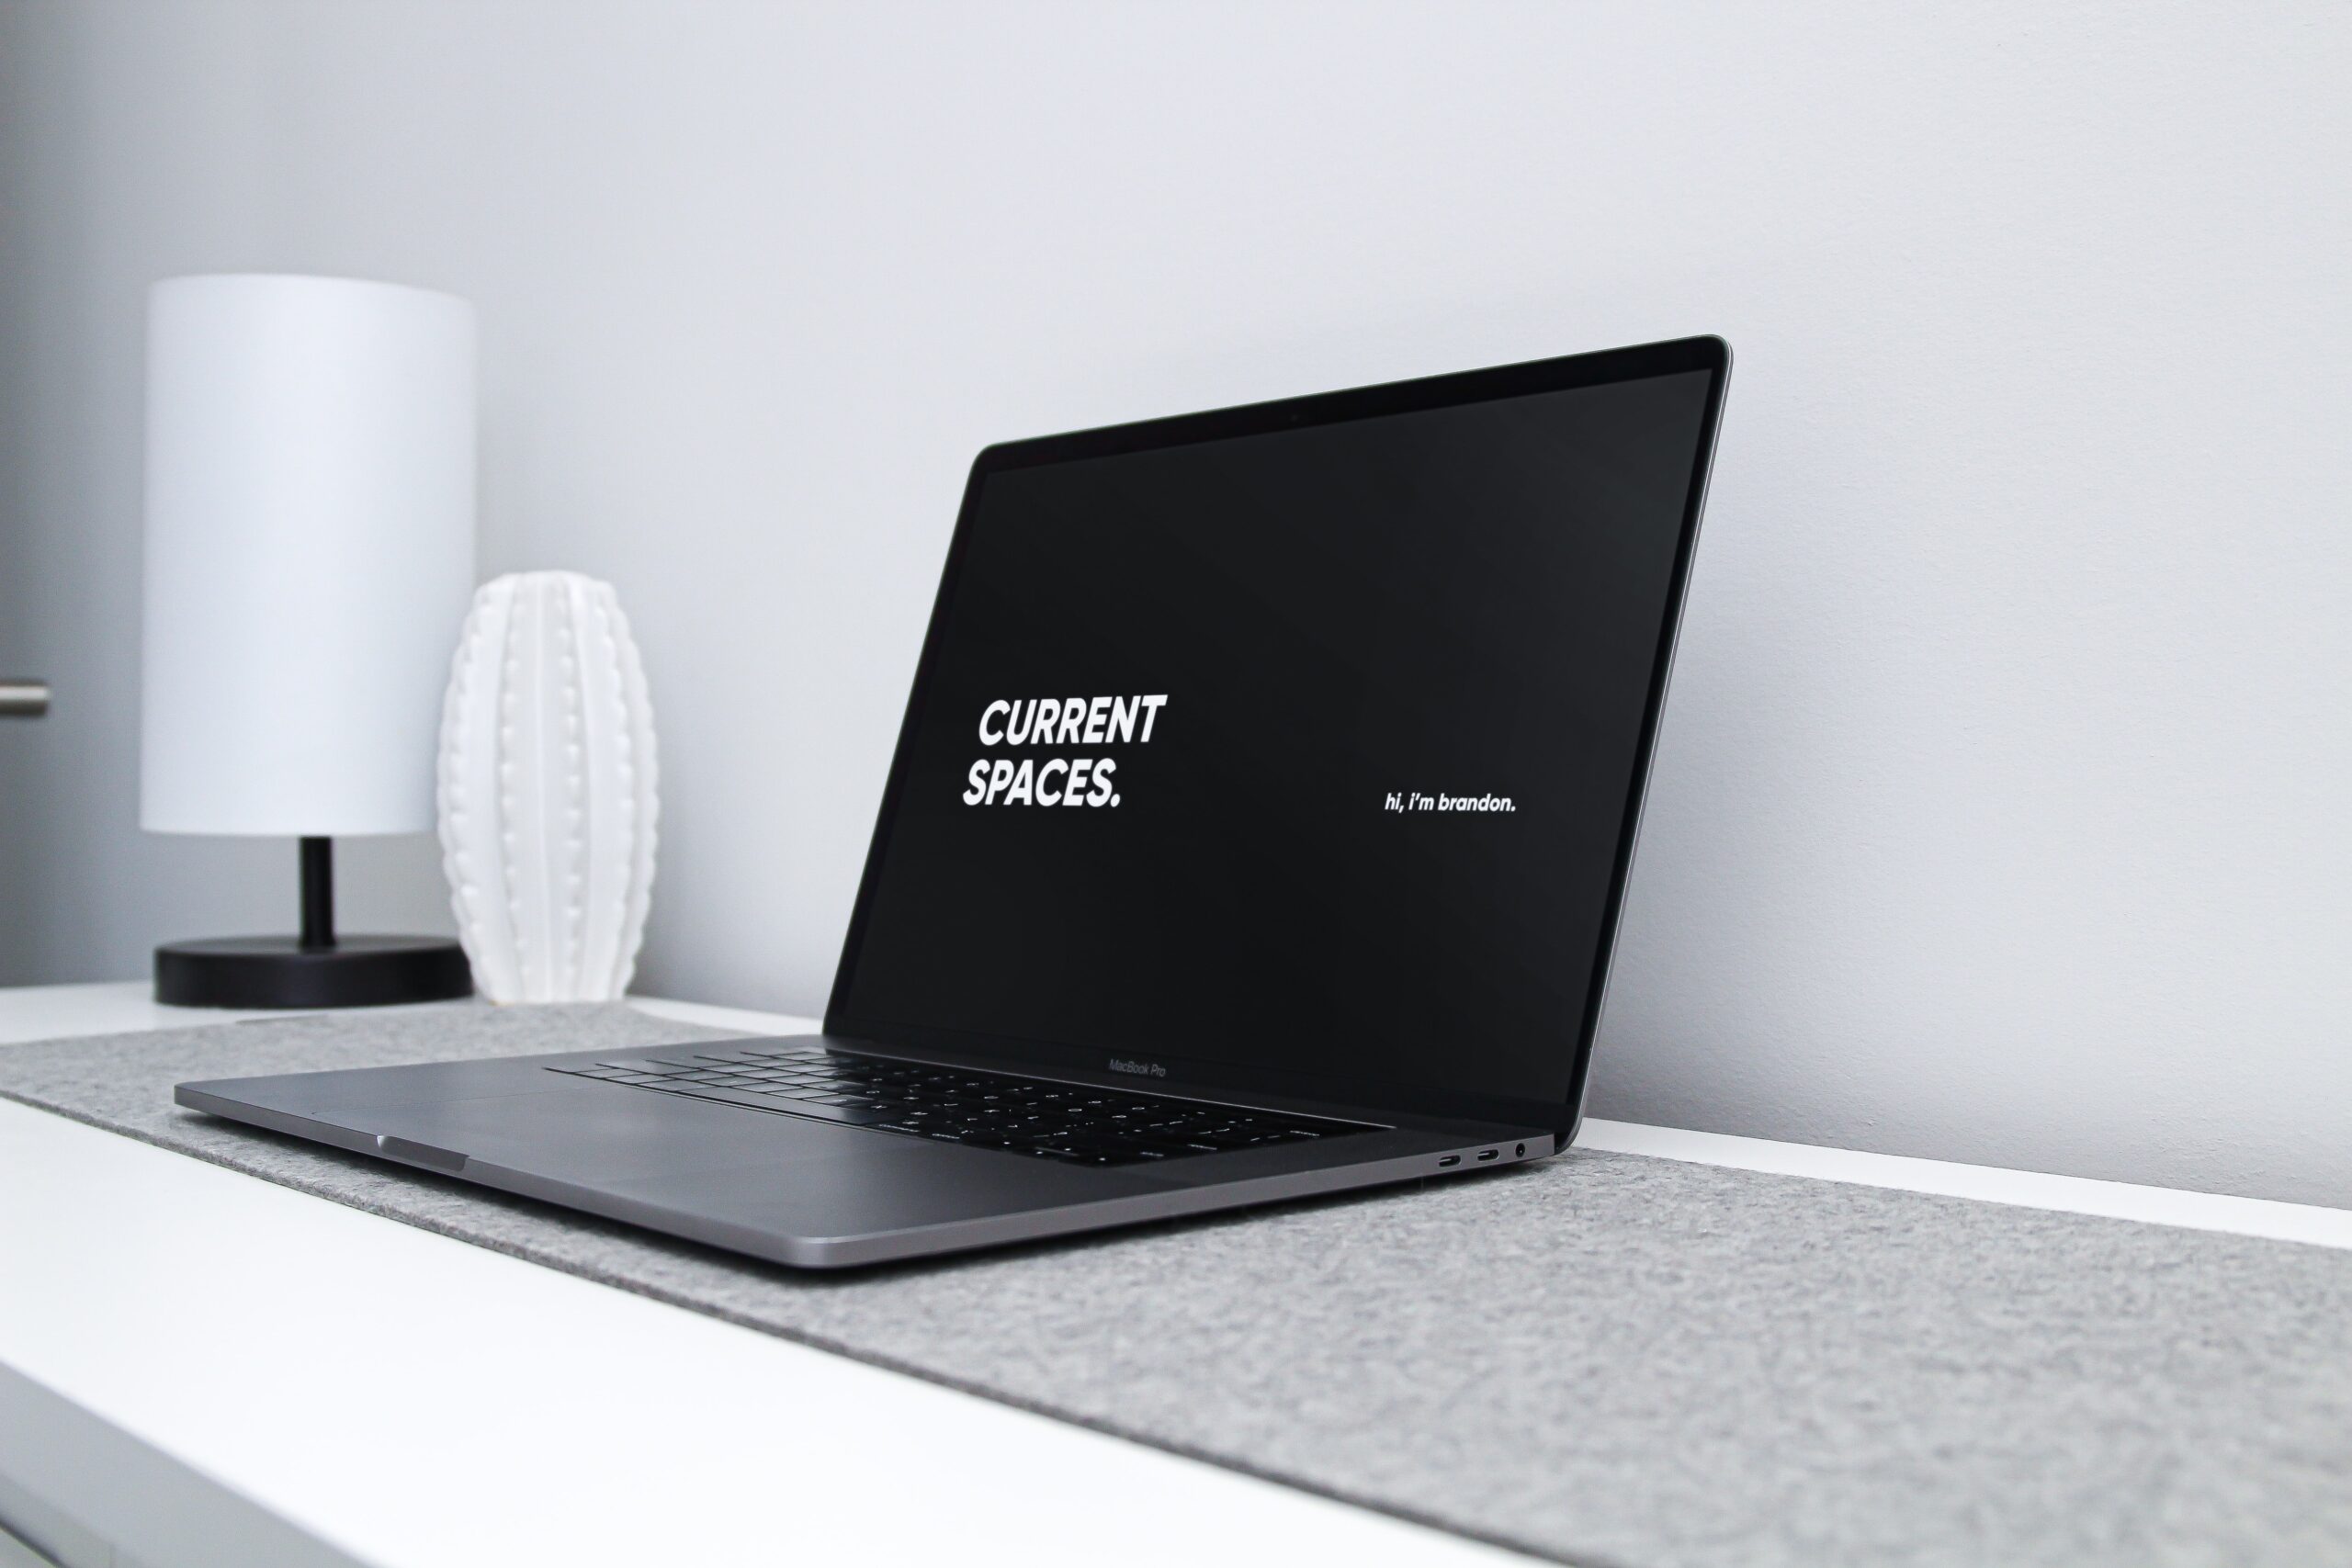
完成形
モックアップに動画を埋め込むとこんな感じにスタイリッシュな雰囲気のモックアップを作ることができます。
手順
1.パソコンのモックアップを用意します。(パソコンじゃなくても大丈夫です)
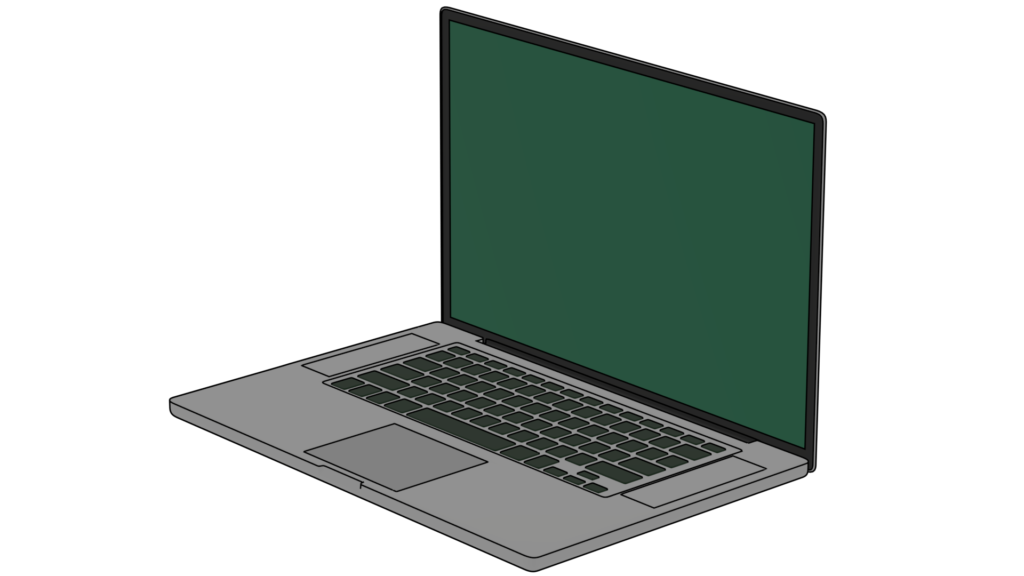
モックアップは正面を向いているよりも、画面が斜めに傾いている方が、完成したときに不思議な雰囲気になると思います。
ちなみに今回使わせていただいているモックアップ画像は、こちらのサイトの3DモデルをBlenderでレンダリング(画像を生成)したものです。
2.パソコンの画面を録画したものを用意します。
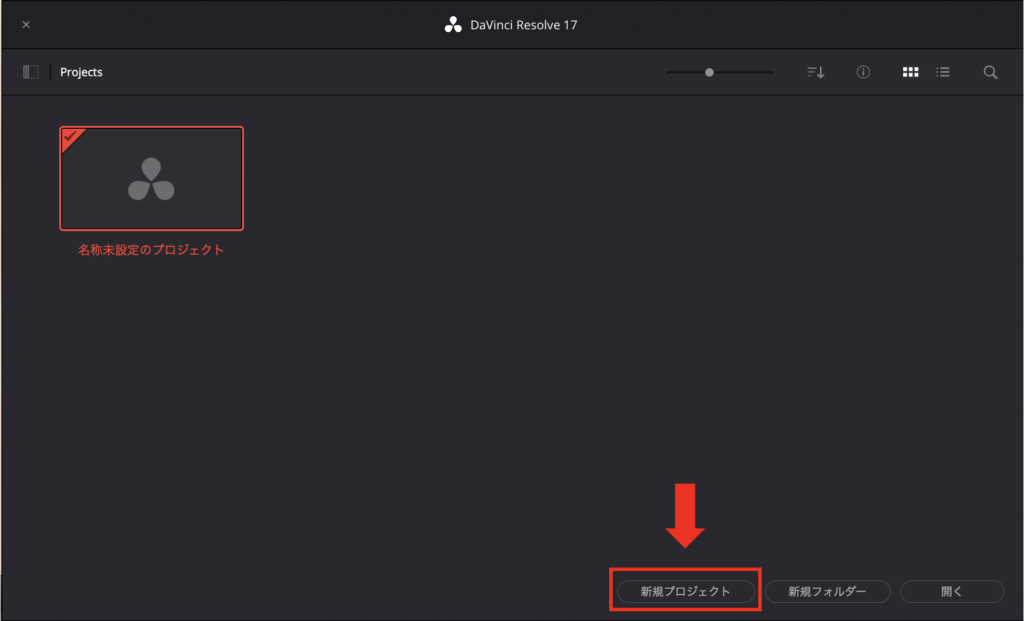
3.DaVinci Resolveを開いて新しいプロジェクトを作成します。
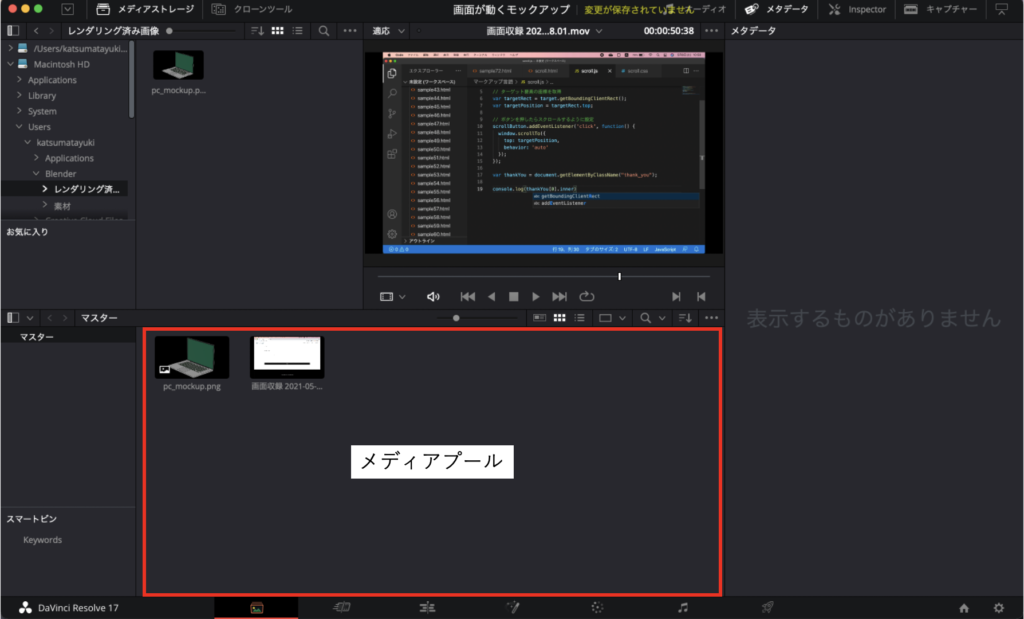
4.1と2で用意したモックアップ画像と動画をメディアプールに入れます。
5.画面下の工程の中から「カット」の工程を選択します。

6.メディアプールの中から、モックアップと画面収録をタイムラインへ移動します。
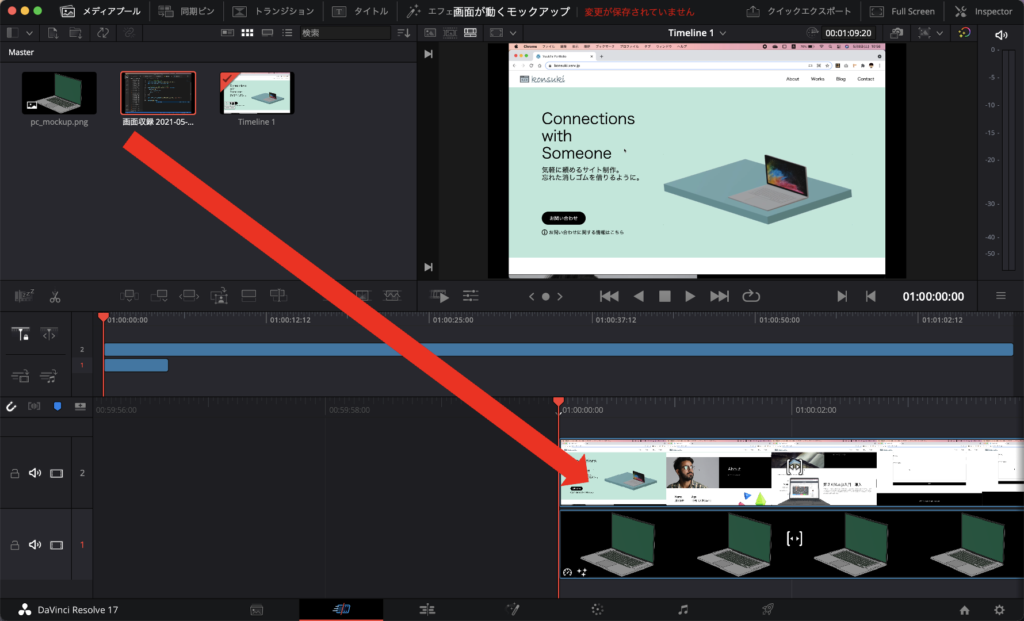
7.画像画像の長さを画面収録の長さにそろえます。

8.タイムラインの中から画面収録だけを削除します(選択してDelete)
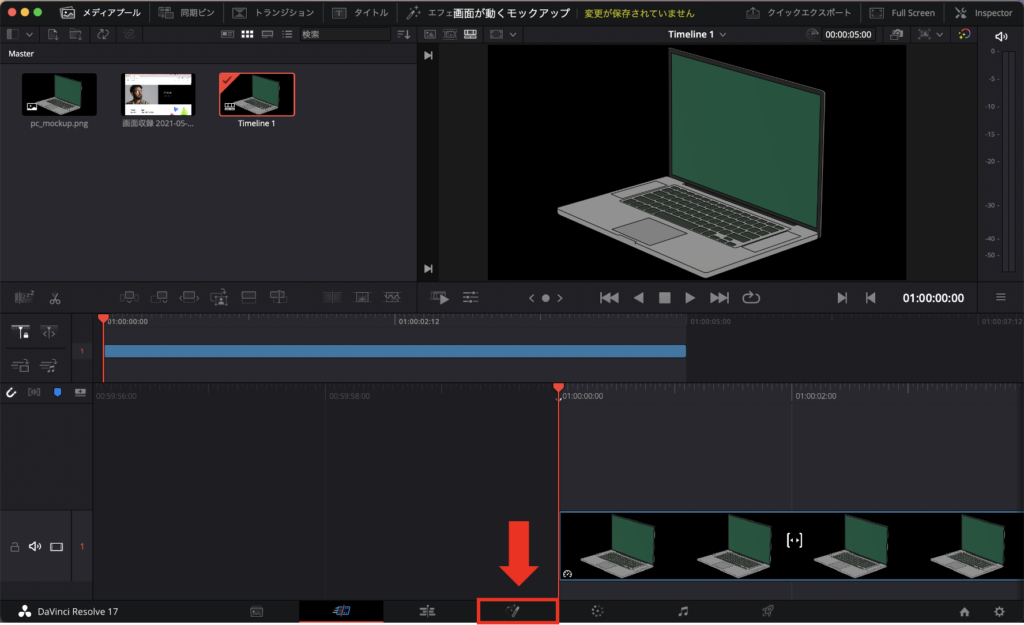
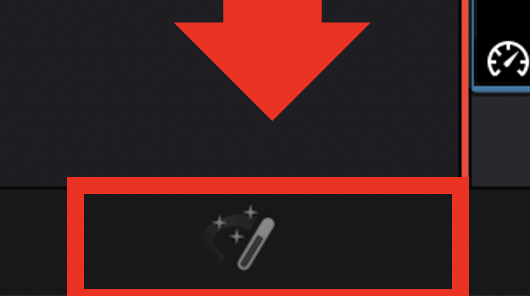
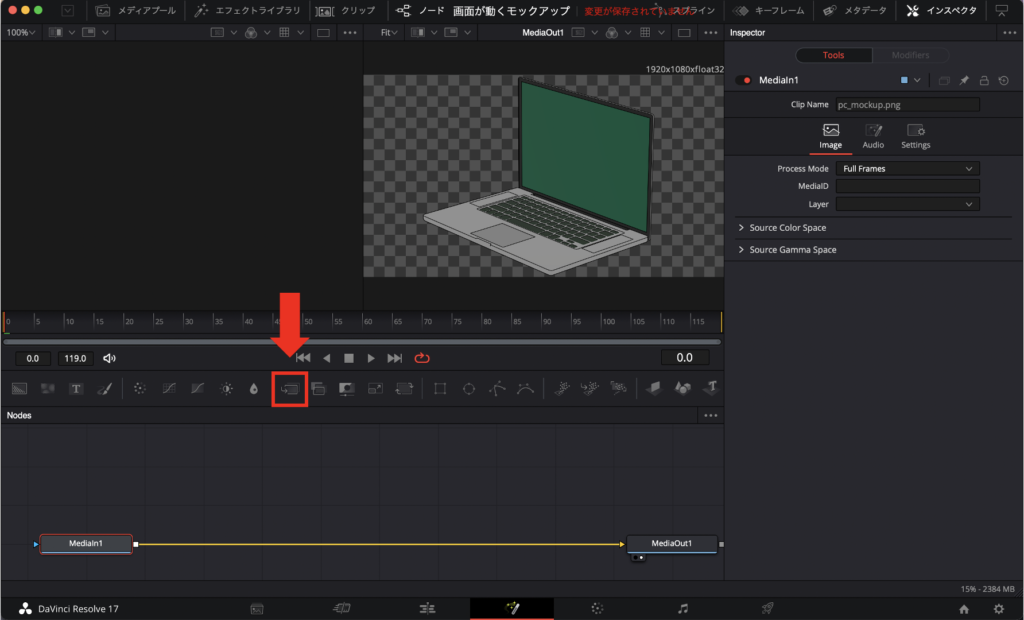
9.工程の中から「Fusion」を選択します。
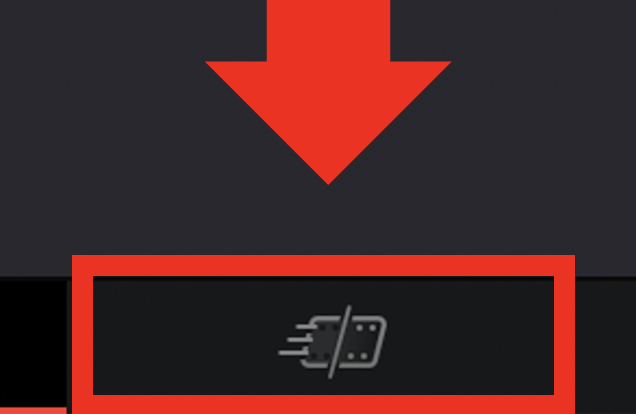
10.矢印で示している部分にある「Merge」を選択します。
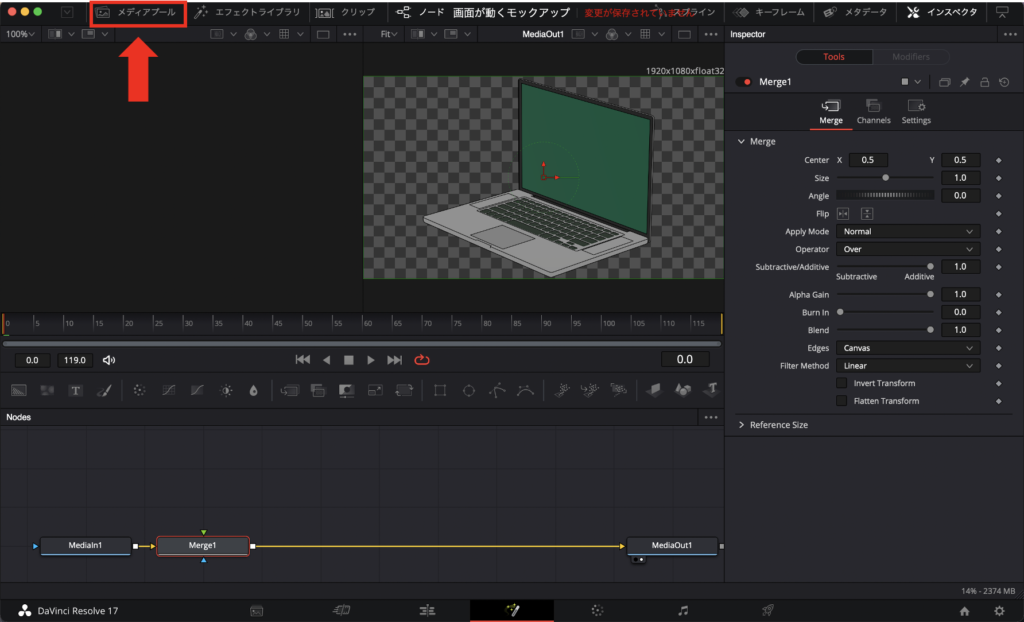
11.画面左上にある「メディアプール」という項目を選択します。
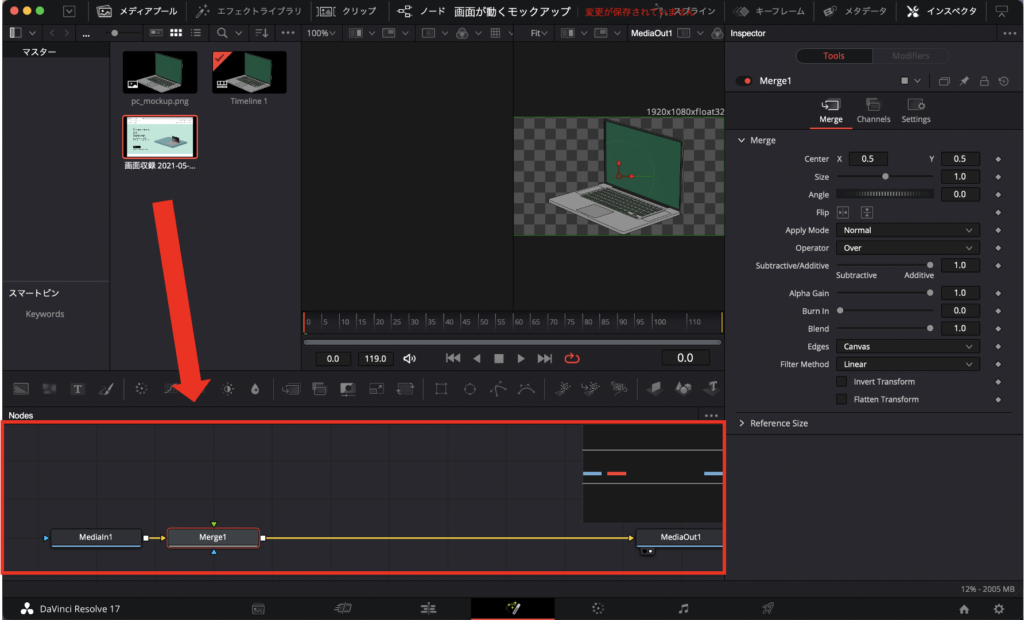
12.表示されたメディアプールの中から画面を録画した動画を見つけ、赤い枠で示している部分にドラックアンドドロップします。
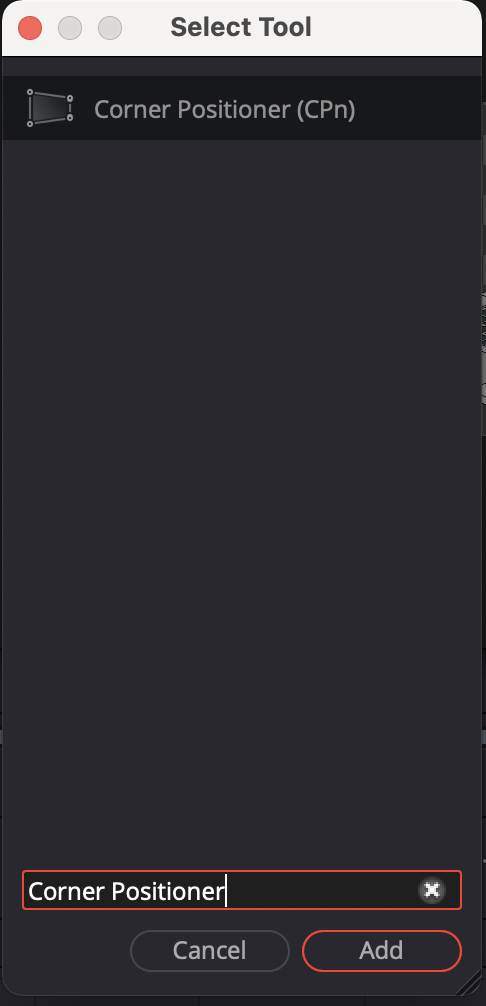
13.「Shift + スペース」を押して次のようなウィンドウを表示させます。
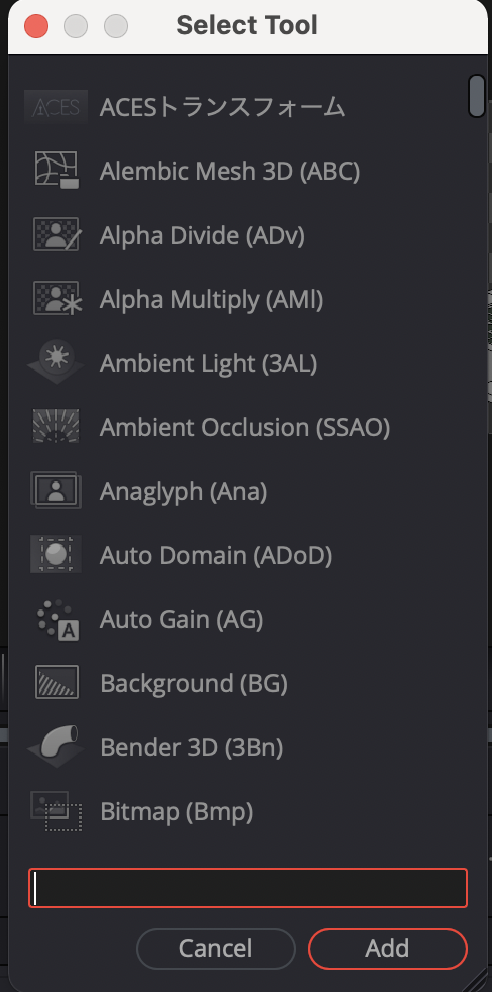
14.文字が入力できる枠の中に「Corner Positioner」と入力します。
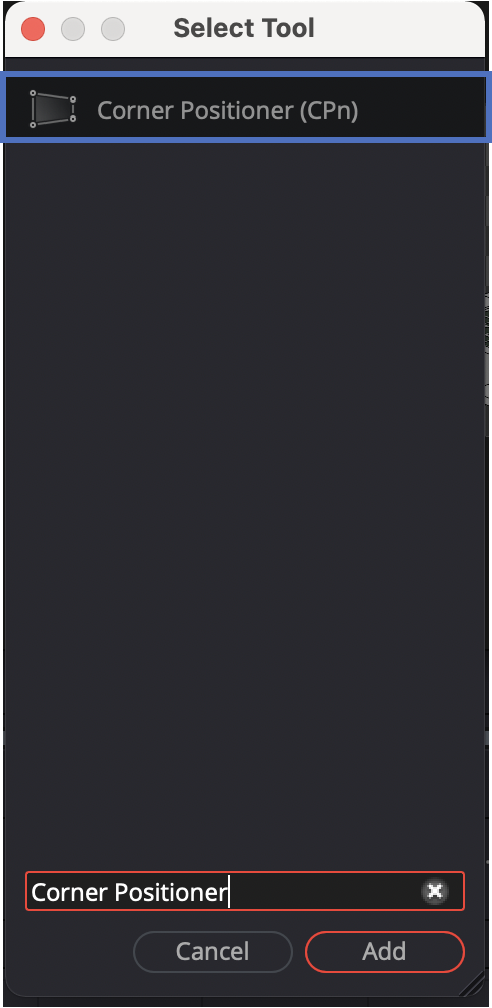
15.青い四角で囲まれたツールが表示されたことを確認し、右下にある「Add」をクリックします。
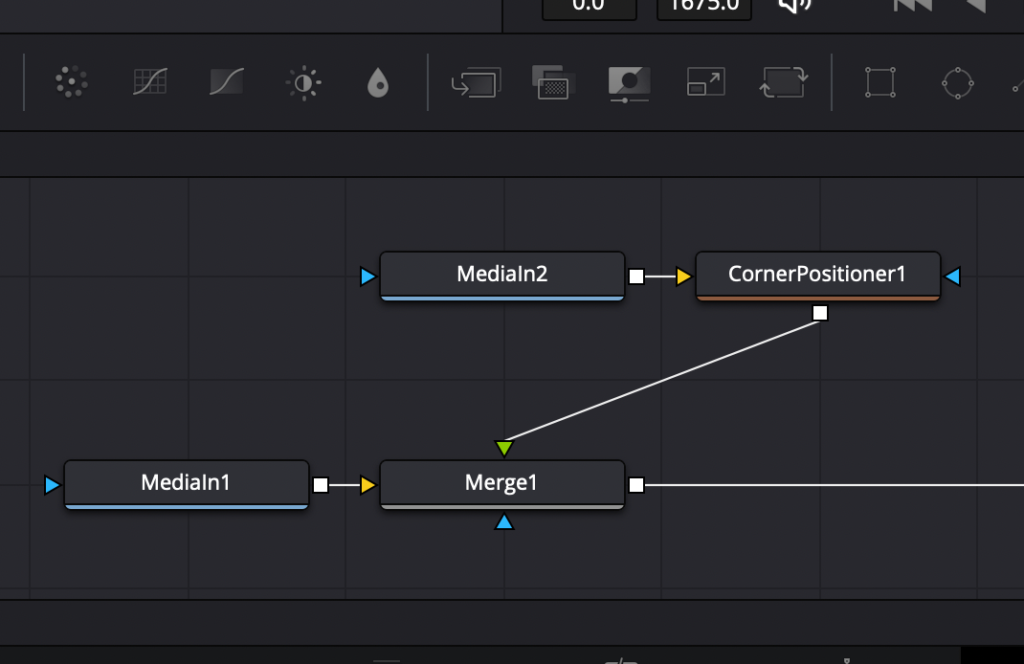
16.追加された「ConerPositioner1」の右側についている四角をドラッグして「Marge1」の上側についている緑色の逆三角につなげます。
17.「ConerPositioner1」を選択します。
18.プレビュー画面に表示された画面収録の四つの角にある四角をモックアップの画面のよすみに合わせます。

この時に、ctrl(commad)を押しながらマウスホイールを回してプレビュー画面を拡大・縮小すると調整しやすくなると思います。

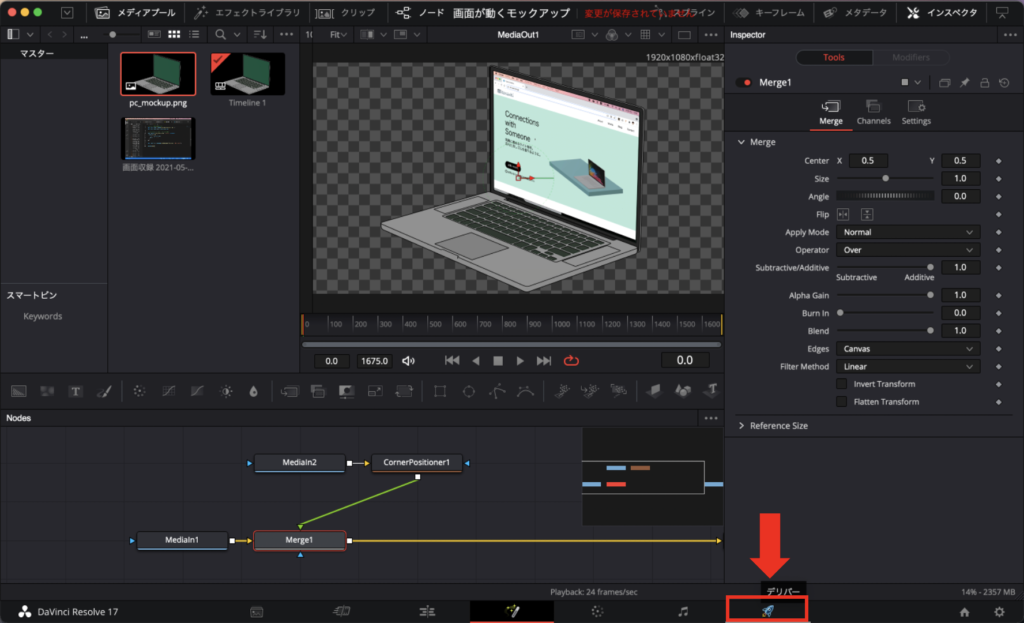
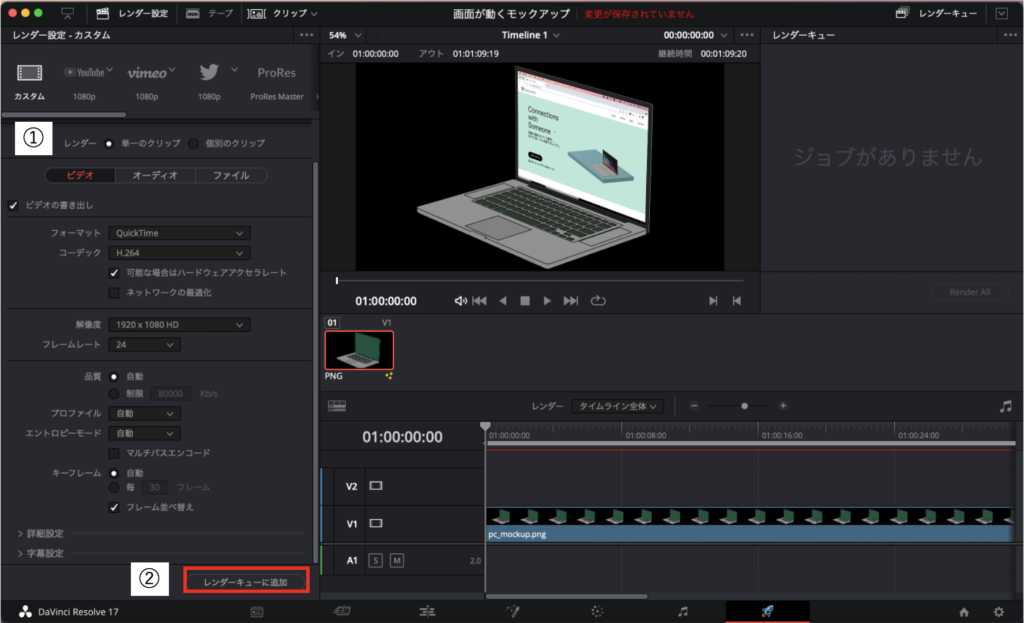
19.工程の中から、「デリバー」を選択します。
20.レンダリングの設定を好みに設定して「レンダーキューに追加 」を選択します。
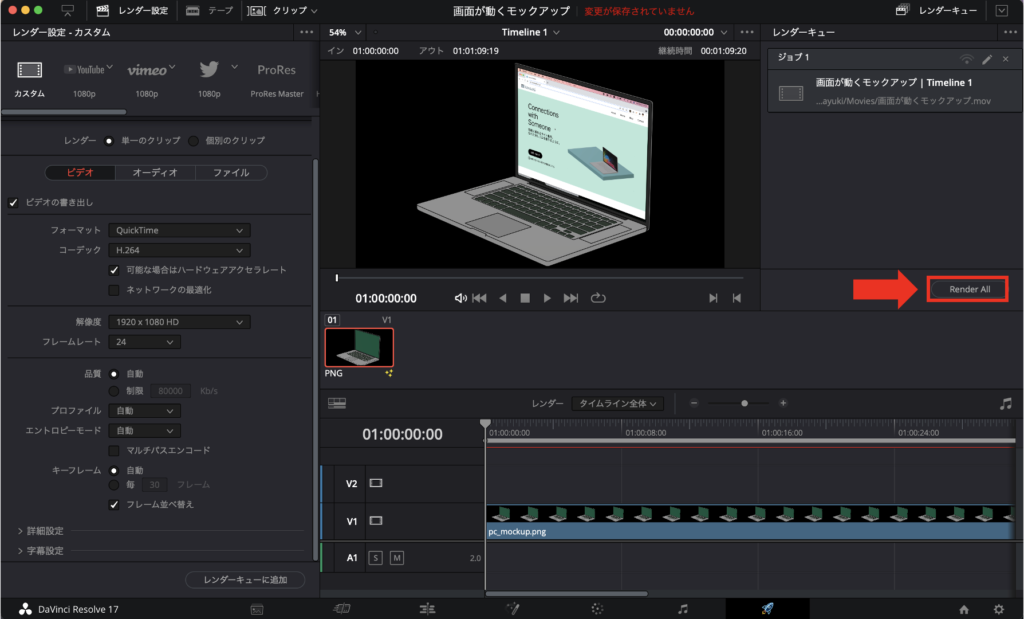
21.ファイルの保存先を指定します。
22.「Render All」を選択して、書き出しが終了すれば完了です。お疲れ様でした。


コメント