UnityのオブジェクトにCubeってありますよね。
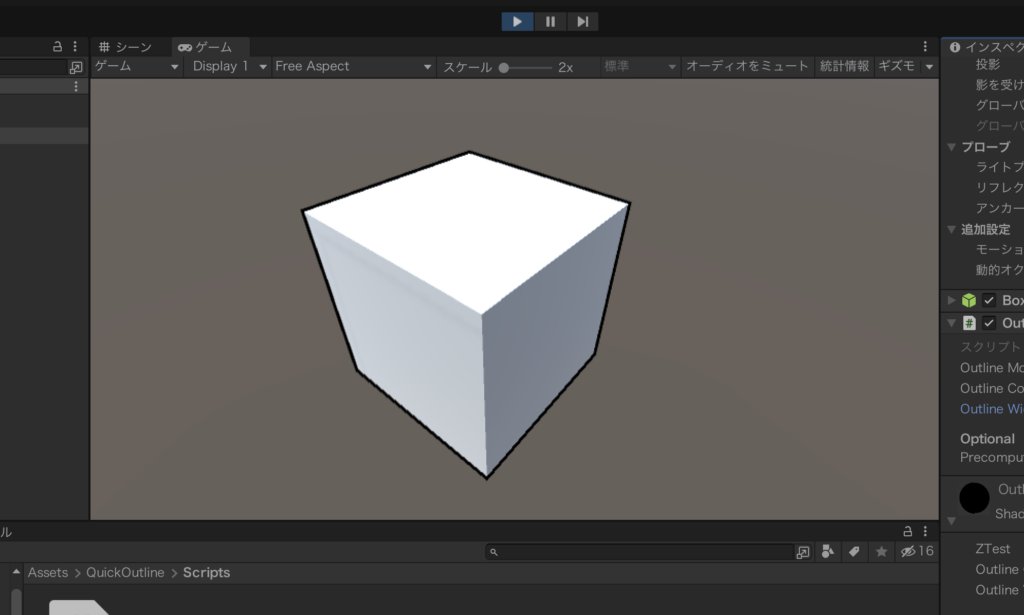
今回はCubeに次のような輪郭をつける方法を紹介します。輪郭の色や太さは好みによって変えられるのでぜひ試してみてください。
こんな感じです。
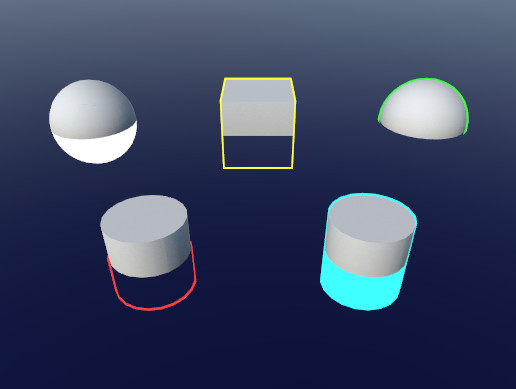
「Quiqk Outline」をインストールする
一瞬で枠線をつけることができる無料のアセットが公開されています。こちら▼のページに移動してください。
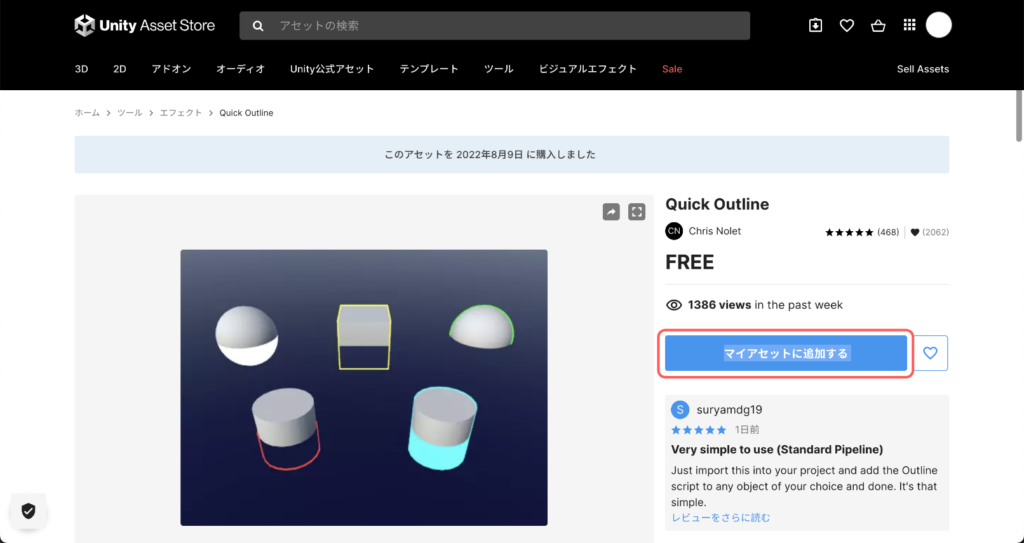
Quick Outline | Particles/Effects | Unity Asset Store
Use the Quick Outline tool for your next project. Find this and more particle & effect tools on the Unity Asset Store.
assetstore.unity.com
「マイアセットに追加する」と書かれたボタンをクリックします。
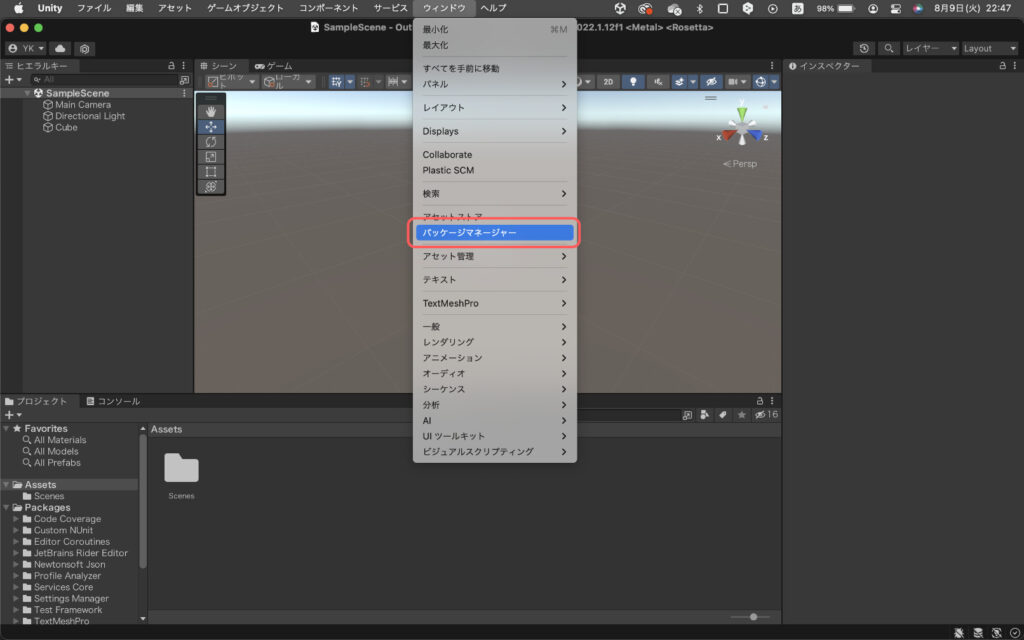
Unityを起動して、メニューからウィンドウ > パッケージマネージャーの順に選択します。
パッケージマネージャーが表示されたら、パッケージの中からQuick Outlineを選択した状態でダウンロードボタンをクリックします。
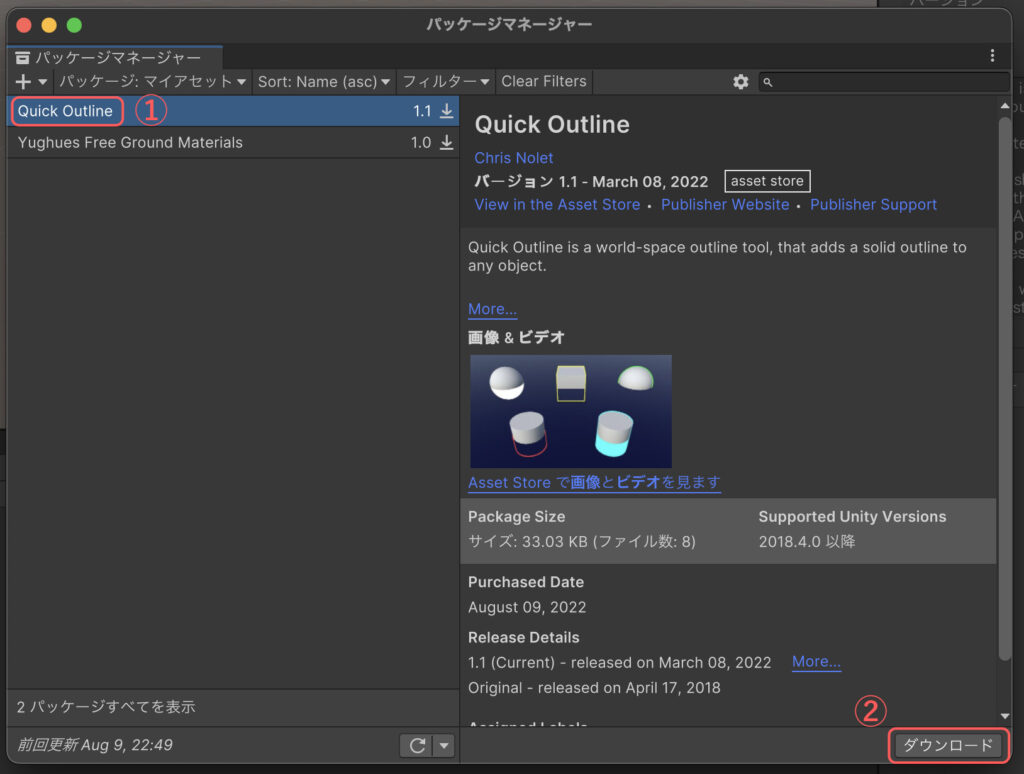
ダウンロードが完了したらインポートと書かれたボタンをクリックします。

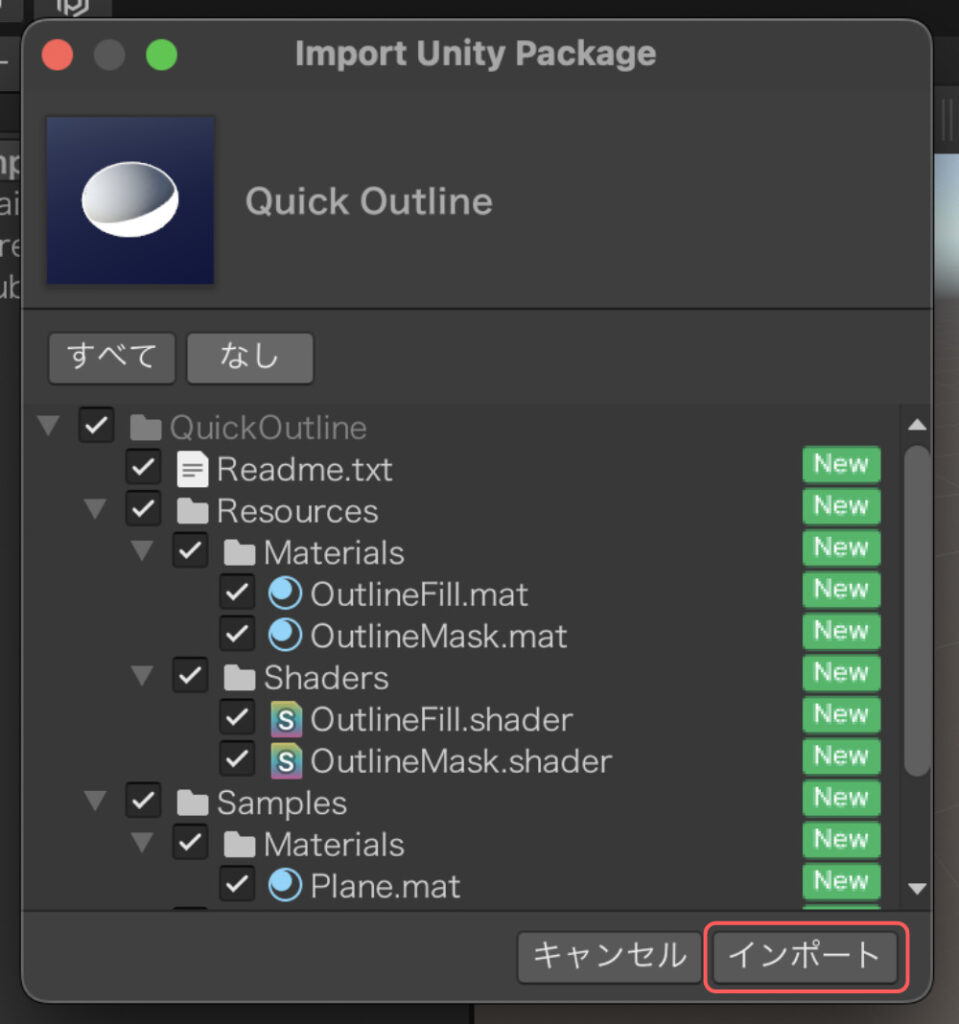
すると次のようなウィンドウが開くので、同じくインポートを押します。
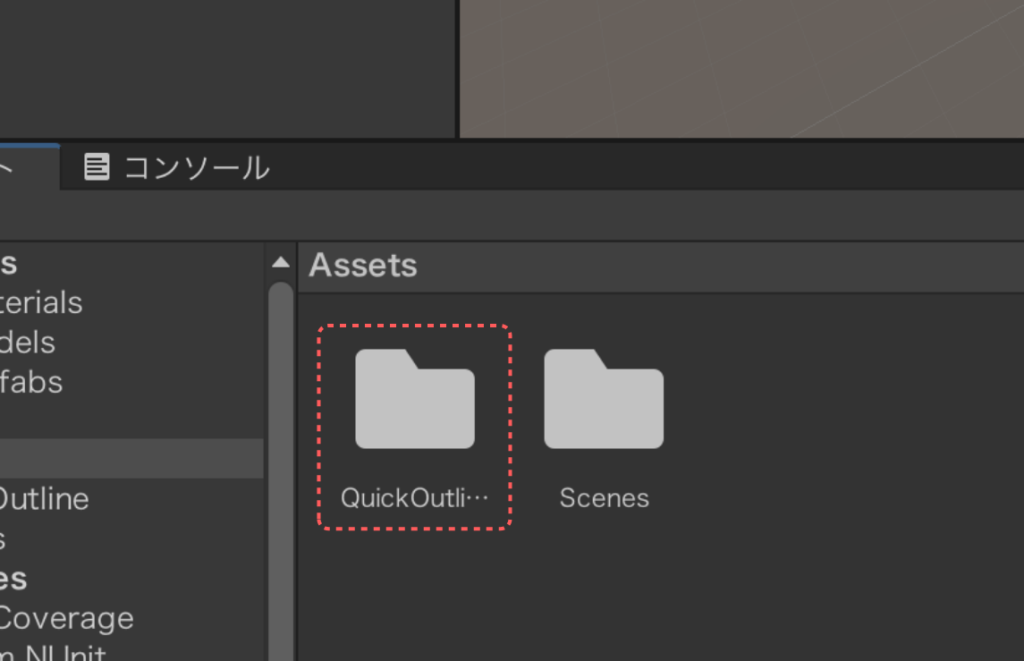
起動しているUnityのプロジェクトにアセットが追加されます。
Cubeに枠線を設定する
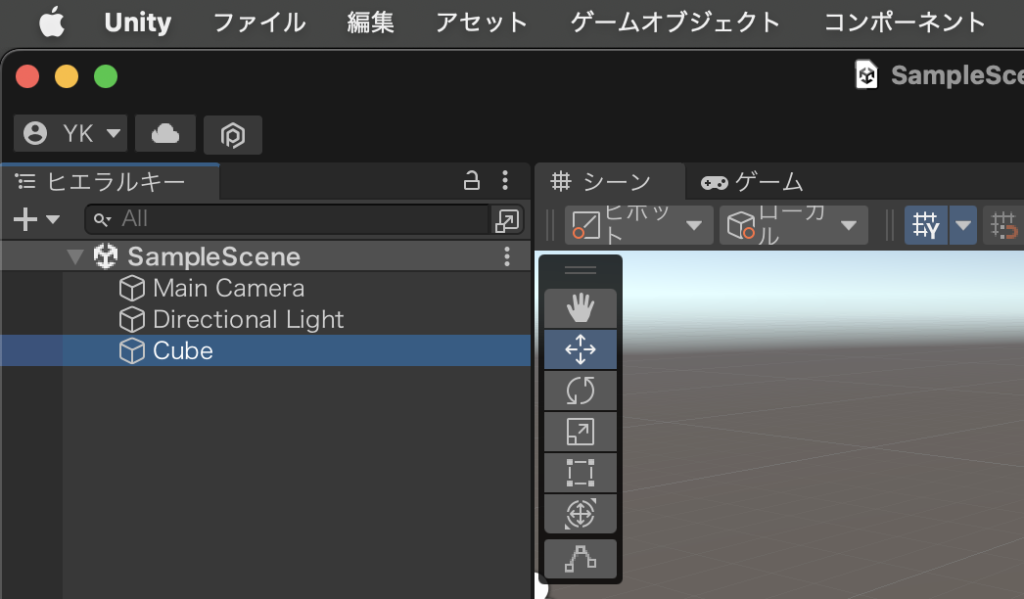
ヒエラルキーから枠線を付けたいCubeを選択しておきます。
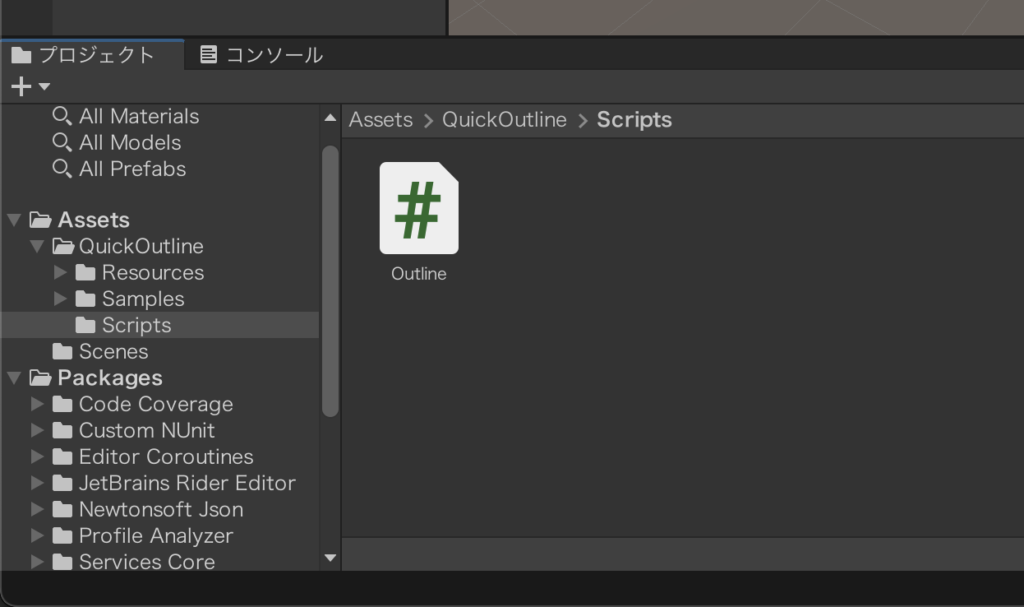
プロジェクトタブから、先ほどインポートしたアセットQuickOutlineにあるScriptフォルダを開きます。
Scriptフォルダの中にあるOutlineというスクリプトを枠線をつけたいCubeオブジェクトのインスペクタータブの方へドラッグ&ドロップします。
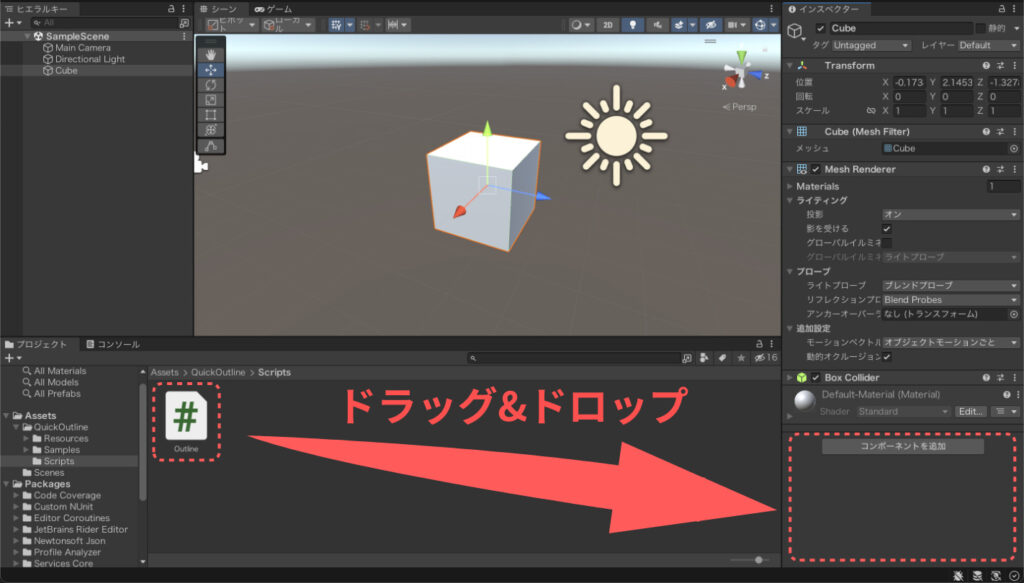
あとは再生すれば、枠線が付いた状態で表示されます。
アウトラインの色や太さを変更する
先ほどOutlineというスクリプトを取り付けたキューブのインスペクタを確認します。Outline(スクリプト)という項目でアウトラインの色や太さを変更することができます。
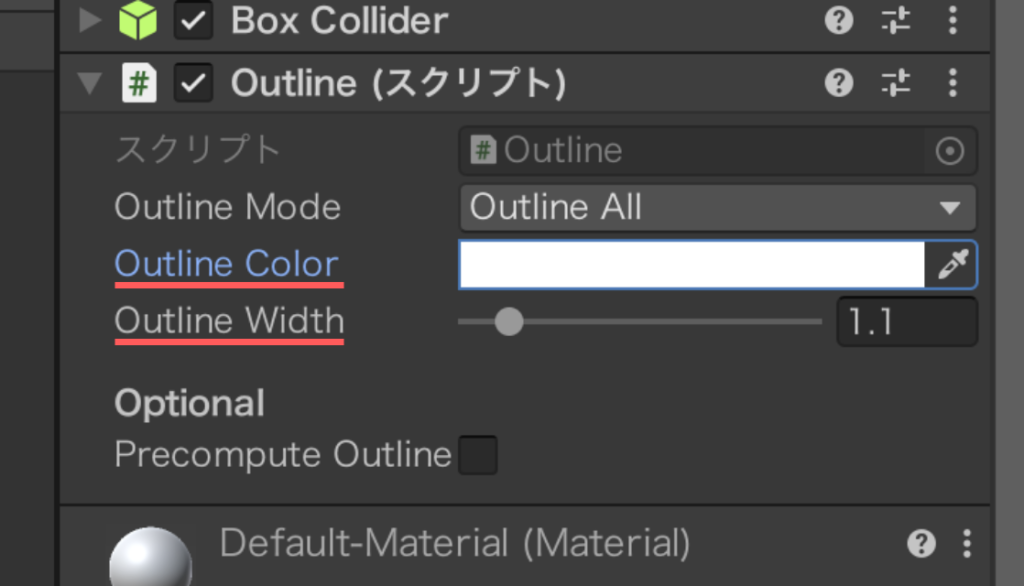
Outline Colorからはアウトラインの色を、Outline Widthからはアウトラインの太さを変更することができます。


コメント