
こんにちは、コンスキです。
Unityでは画像を使わなくても、三角形を描画することができます。
しかし、「複数の三角形を描くにはどうすればいいの?」と思った方もいるのではないでしょうか。
今回は、Unityで複数の三角形を描く方法をご紹介します。
1つだけ三角形を描画する
複数の三角形を描く方法の前に、まずは1つだけ三角形を描いてみます。
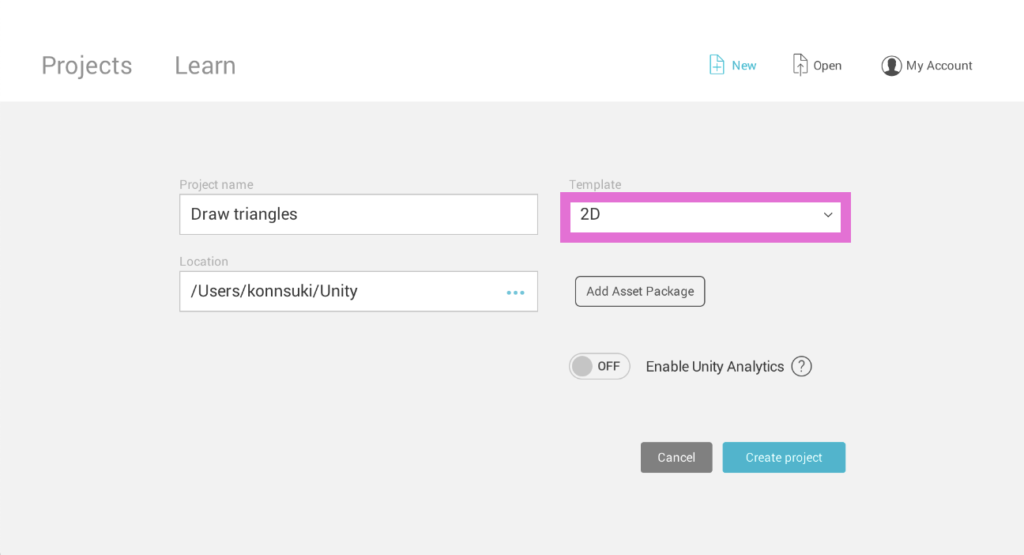
まず、2Dモードでプロジェクトを作っておきます。
マウスカーソルがヒエラルキー(レイヤーみたいなところ)にある状態で、右クリックをします。
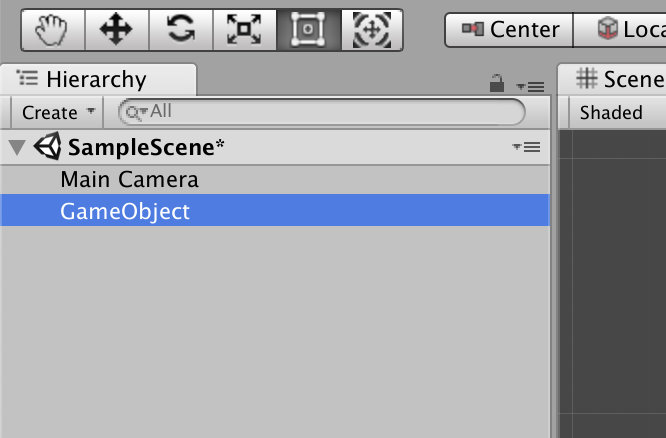
出てきた項目の中から「Create Empty」を選択します。

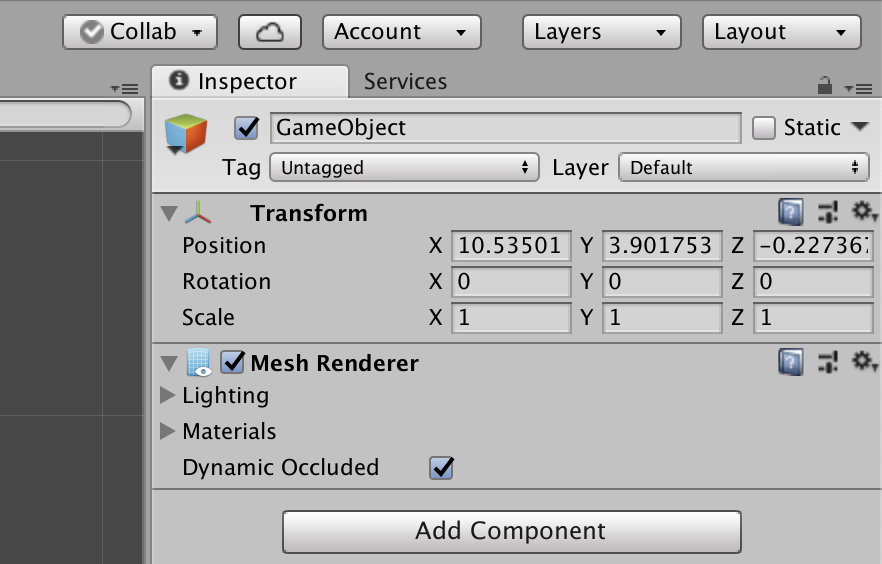
「GameObject」というものが作成されます。
名前はそのままでも大丈夫ですが、変えても大丈夫です。
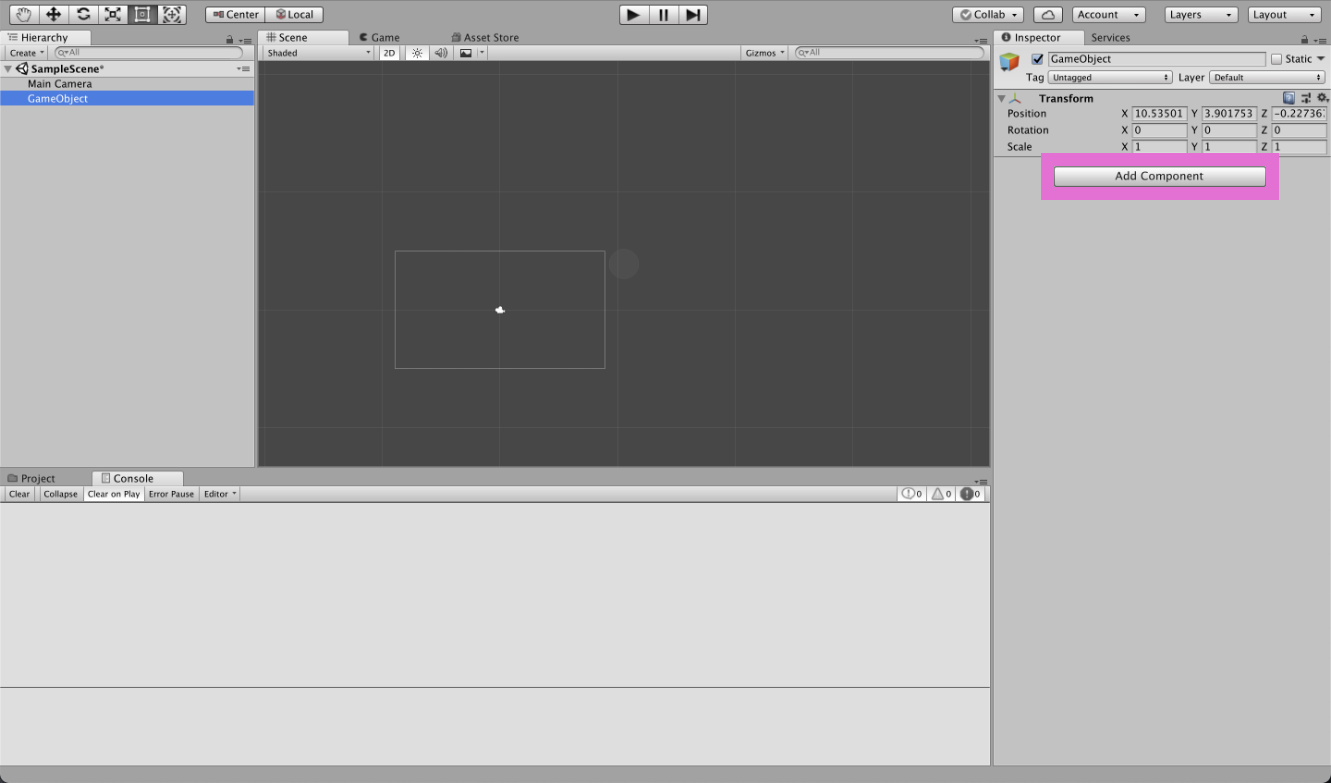
いま作ったGameObjectが選択された状態で、画面右側にある「Add Component」を押します。
検索欄に「Mesh Renderer」と入力し、出てきたやつを選択してください。
「Mesh Renderer」以外のものも出てくるかもしれませんが、今回は「Mesh Renderer」を選択します。
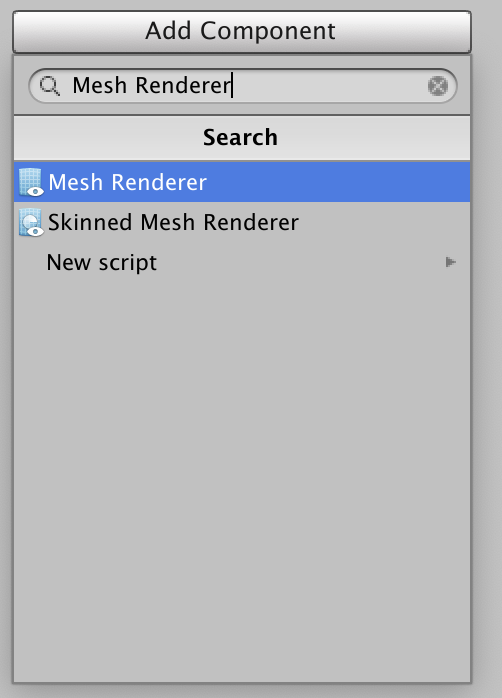
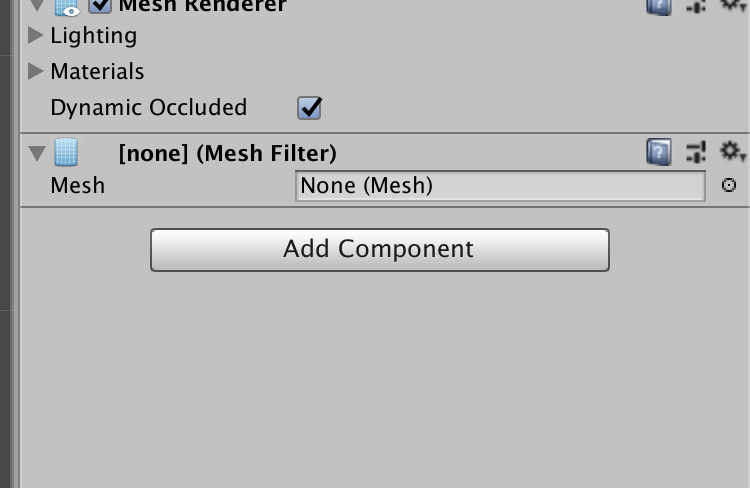
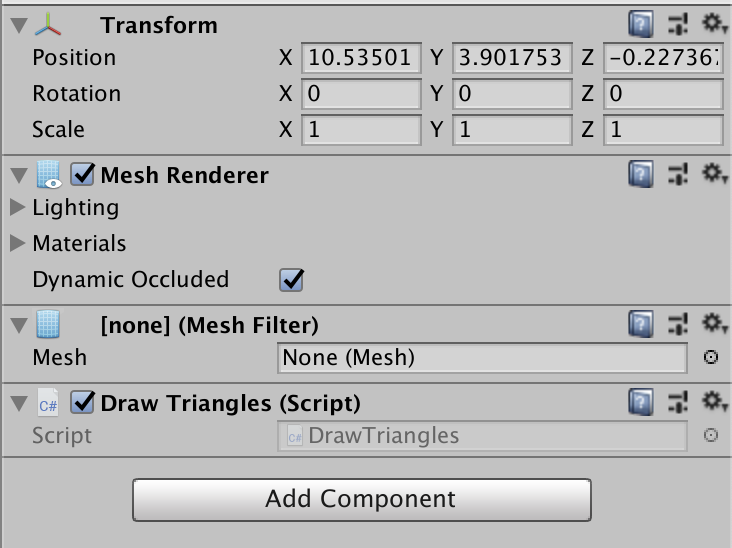
Inspecorに「Mesh Renderer」が表示されていると思います。
同じようにして、今度は「Mesh Filter」を追加します。
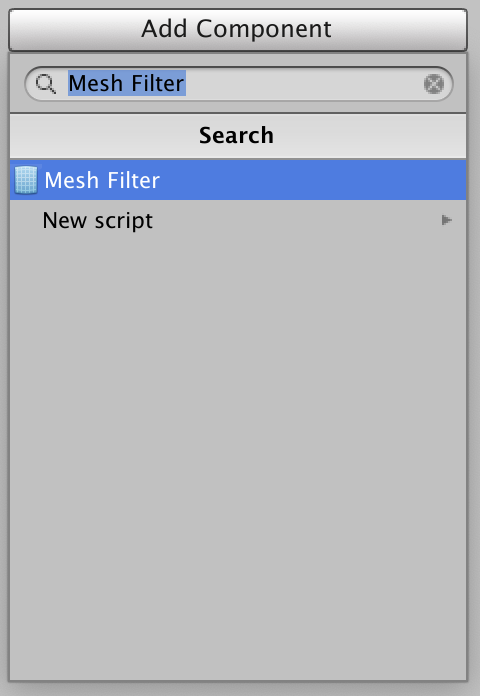
もう1度「Add Component」を押します。
今度は一番下にある「New Script」を選択します。
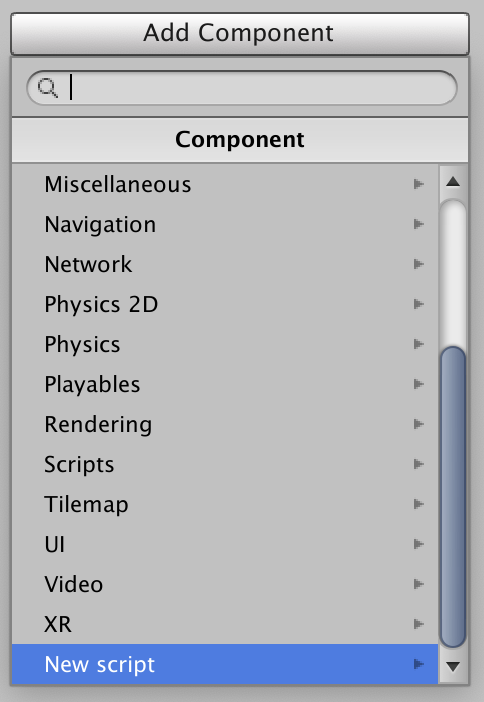
スクリプトの名前を「DrawTriangles」にして、「Create and Add」を押します。
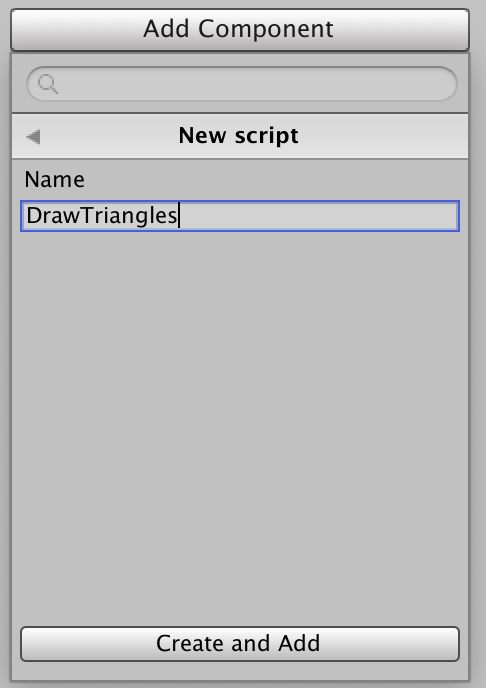
次のような状態になっていれば大丈夫です。
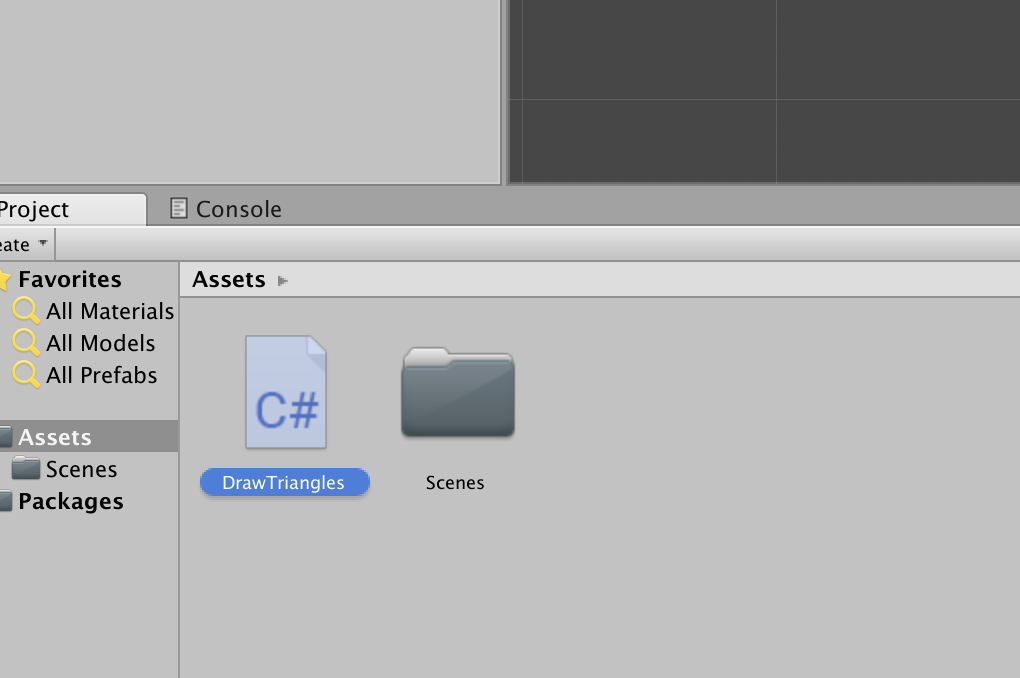
スクリプト「DrawTriangles」を編集していきます。
Assetsの中にある「DrawTriangles」をダブルクリックしてください。
次のスクリプトを書きます。
using System.Collections;
using System.Collections.Generic;
using UnityEngine;

public class DrawTriangles : MonoBehaviour {
	void Start() {
		var mesh = new Mesh();
    mesh.vertices = new Vector3[] {
      new Vector3(0, 1f),
      new Vector3(1f, -1f),
      new Vector3(-1f, -1f)
    };
		mesh.triangles = new int[] { 0, 1, 2 };
		mesh.RecalculateNormals();
		var filter = GetComponent<MeshFilter>();
		filter.sharedMesh = mesh;
	}
}
9, 10, 11行目が三角形の頂点の位置を決めている部分です。
new Vector3(0, 1f),
new Vector3(1f, -1f),
new Vector3(-1f, -1f)
その頂点をどの順番で結ぶかを13行目で決めています。
mesh.triangles = new int[] { 0, 1, 2 }; 先ほど書いた頂点には、書いた順に番号がもともとつけられています。(0から始まります)
new Vector3(0, 1f),    /0
new Vector3(1f, -1f),  /1
new Vector3(-1f, -1f), /2
その番号を使って結ぶ順番を決めていきます。
mesh.triangles = new int[] { 0, 1, 2 }; /0,1,2の順番で結ぶ再生ボタンを押します。
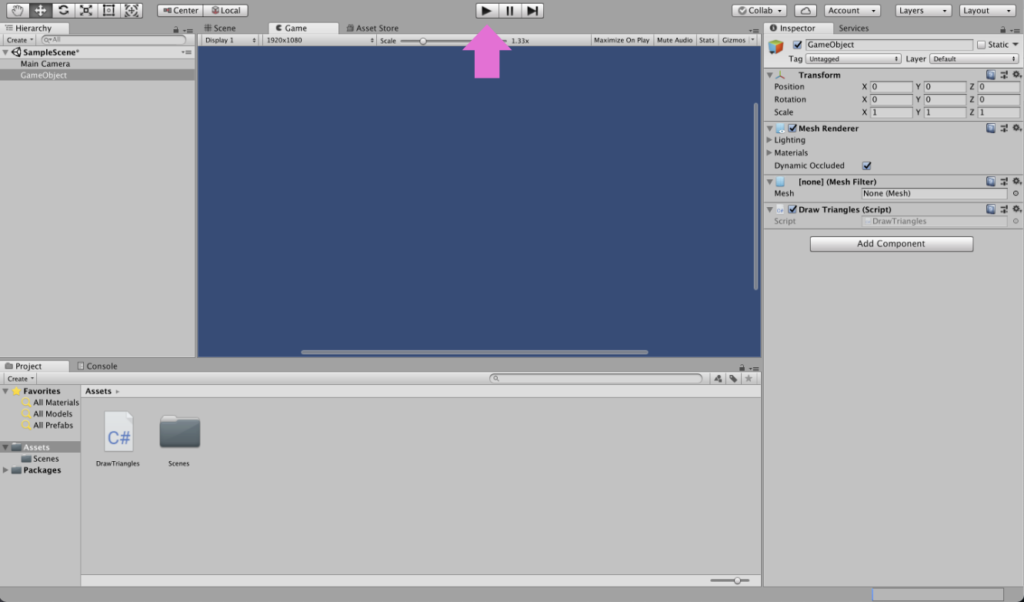
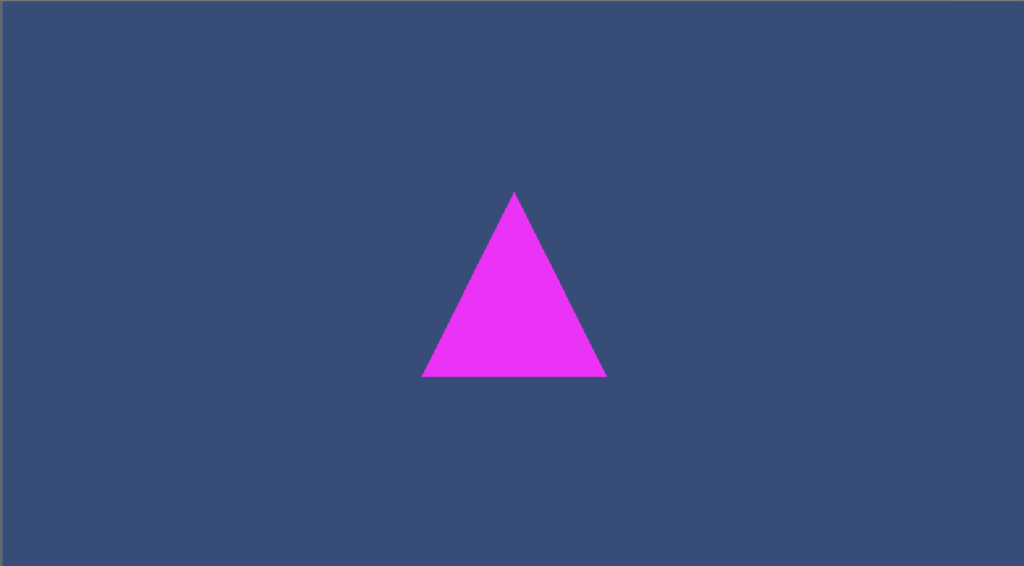
次のように、三角形が1つ描画されると思います。
2つの三角形を描画する
複数描画する時に変更するのは、先ほどの「DrawTriangles」というスクリプトです。
using System.Collections;
using System.Collections.Generic;
using UnityEngine;

public class DrawTriangles : MonoBehaviour {
	void Start() {
		var mesh = new Mesh();
    mesh.vertices = new Vector3[] {
      new Vector3(0, 1f),
      new Vector3(1f, -1f),
      new Vector3(-1f, -1f)
    };
		mesh.triangles = new int[] { 0, 1, 2 };
		mesh.RecalculateNormals();
		var filter = GetComponent<MeshFilter>();
		filter.sharedMesh = mesh;
	}
}
まずは、頂点の位置を増やします。
先ほどは一つしか三角形を作らなかったので頂点の位置は3つでしたが、今度は2つ作るので6つの頂点の位置を書きます。
mesh.vertices = new Vector3[] {
  new Vector3(0, 1f),
  new Vector3(1f, -1f),
  new Vector3(-1f, -1f),
  new Vector3(0+3f, 1f),    //追加した行
  new Vector3(1f+3f, -1f),  //追加した行
  new Vector3(-1f+3f, -1f)  //追加した行
};
ちなみに、右に3だけずらした三角形を追加しようとしています。
次に、頂点を結ぶ順番を決める部分も書き加えます。
mesh.triangles = new int[] { 0, 1, 2, 3, 4, 5 }; 「3, 4, 5」の部分を書き加えました。
「0, 1, 2」の頂点が結ばれて一つの三角形ができ、「3, 4, 5」の頂点が結ばれて2つ目の三角形ができるイメージです。
「0, 1, 2, 3, 4, 5」のように書いているため、2の頂点と3の頂点が結ばれてしまいそうな気がしますよね。
しかし、3つの頂点で1つの三角形ができるようになっています。
そのため、2の頂点と3の頂点は結ばれません。
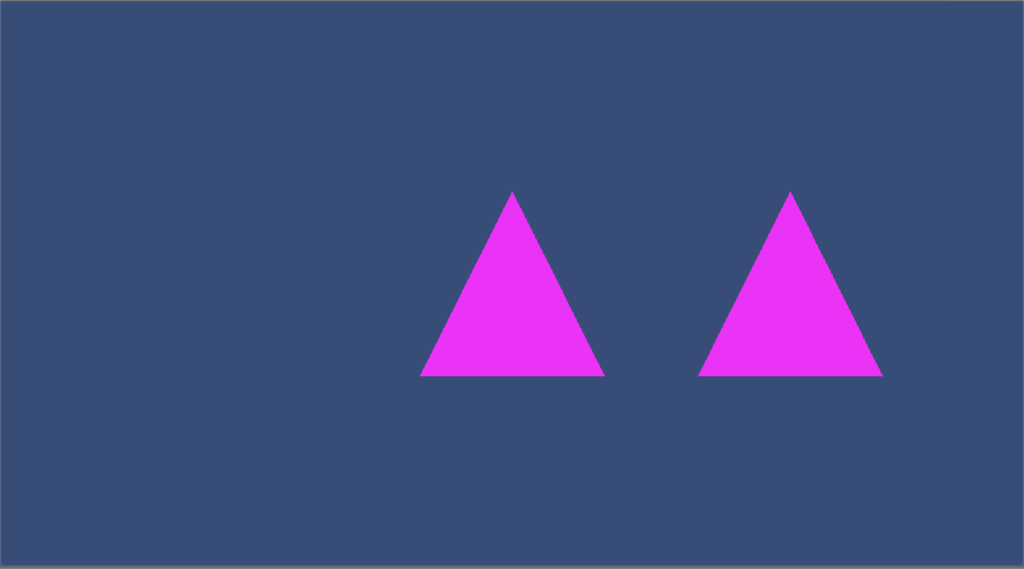
再生してみると次のようになります。
参考にさせていただいた記事
こちらの記事を参考にさせていただきました。

細かい部分はこちらの記事の方がわかりやすく説明されています。
ぜひ確認してみてください!


コメント