
前回は「特定のページだけサイドバーを非表示にする手順」を説明しました。
今回は、デザインは変えずに要素だけを変更できるようにする手順を説明します。
今回やること
今回は、サンプルサイトの施設紹介ページを例に使ってデザインは変えずに要素だけを管理できるようにします。
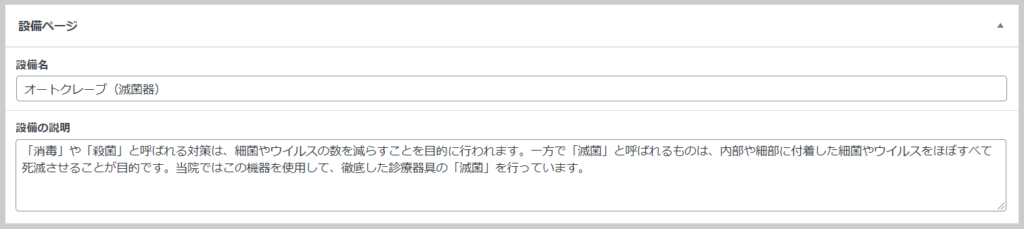
次のような管理画面を使って管理することで、コードは変更せず文字だけを変更できます。
ページの内容を変更するときに、コードを変更してデザインを思いがけずデザインまで変えてしまうことがなくなります。
上のような管理画面で変更した内容は、次のようにページに反映されます。
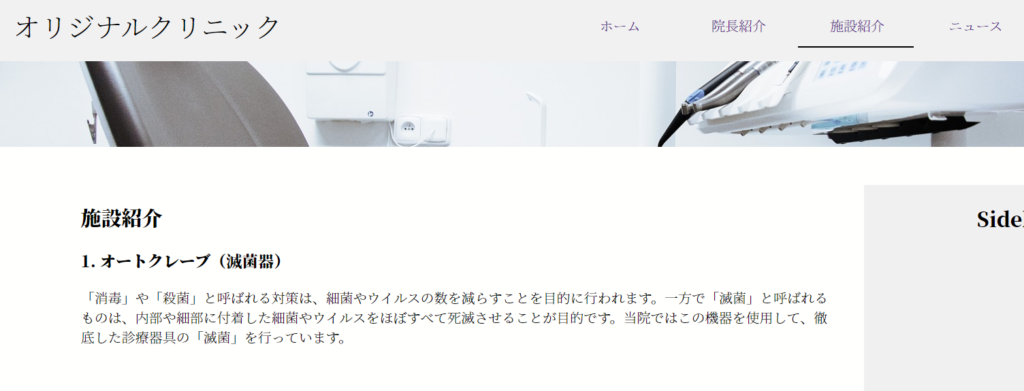
このように、ページの一部を管理できるようにページに埋め込んでおく部品を「カスタムフィールド」と言います。
今回はサンプルサイトの「施設紹介」ページに、このカスタムフィールドの設置するところまでをやっていきます。
準備
すべての固定ページを「page.php」で読み込むとそれぞれのページの見た目を自由に変えることができなくなってしまします。
そこで固定ページをそれぞれの別のphpファイルで管理して、編集がしやすくなるようにしておきます。
そのため今回は事前に「page-facility.php」というファイルを作り、このファイルを読み込むことで「説紹介」ページを表示させるようにします。
1. テキストエディタなどを使って次のような「page-facility.php」というファイルを作ります。
<?php get_header(); ?>
<div id="content" class="page_wrap page_inner">
	<div id="main">
   		<h2><?php the_title(); ?></h2>
		<div id="equipment">
			<h3 class="equip_name"></h3>
      <p class="equip_desc"></p>
		</div>
	</div>
	<?php get_sidebar(); ?>
</div>
<?php get_footer(); ?>
2. 作った「page.facility.php」をWordPressのテーマフォルダにアップロードします。
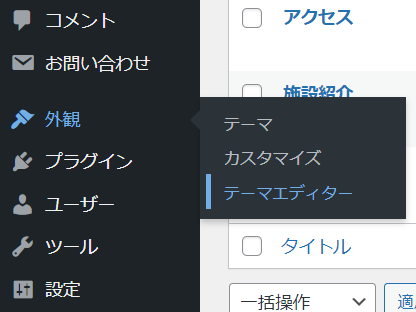
3. 管理画面から、「外観 > テーマエディター」のように選択します。
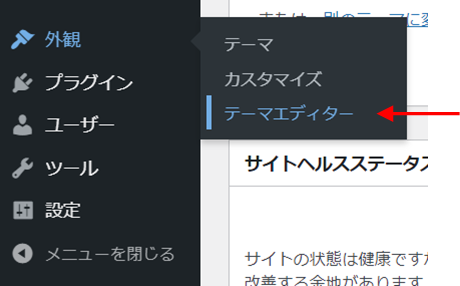
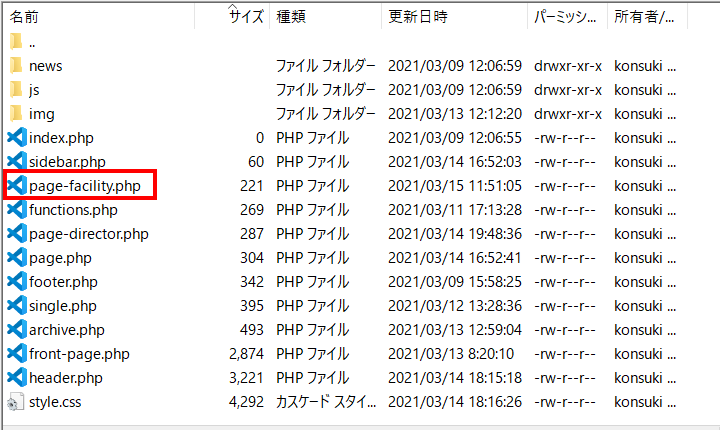
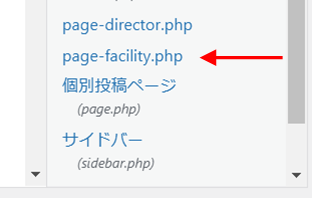
4. 右側のテーマファイルの項目に「page-facility.php」があることを確認します。
これで準備ができました。
手順
プラグインのインストール
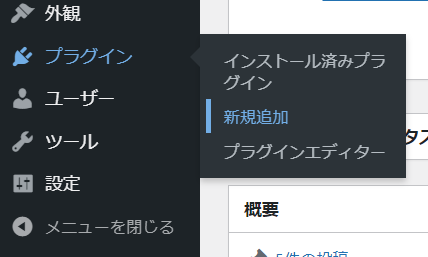
1. WordPressの管理画面から、「プラグイン > 新規追加」のように選択します。
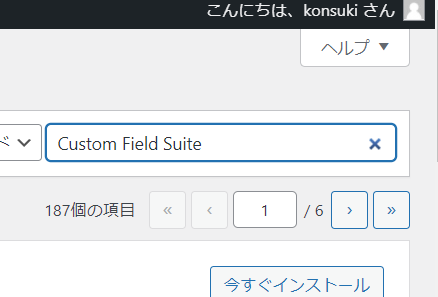
2. プラグインの検索欄に「Custom Field Suite」と入力します。
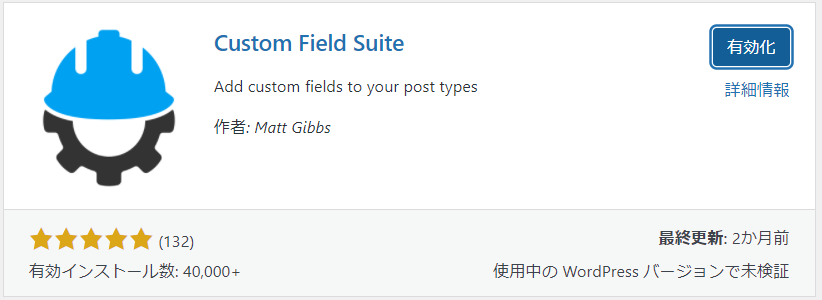
3. 下のプラグインを見つけて、右上にある「今すぐインストール」をクリックします。
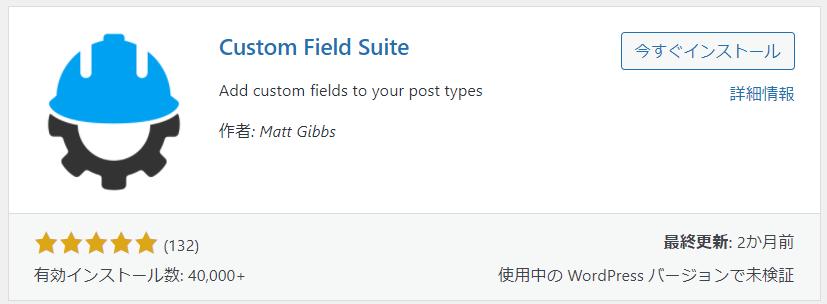
4. インストールが完了すると「今すぐインストール」が「有効化」に変わります。その「有効化」をクリックします。
プラグインの設定
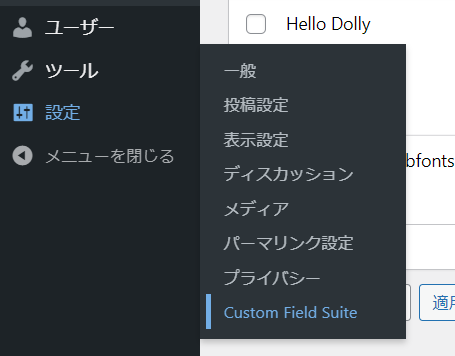
1. WordPressの管理画面から「設定 > Custom Field Suite」のように選択します。
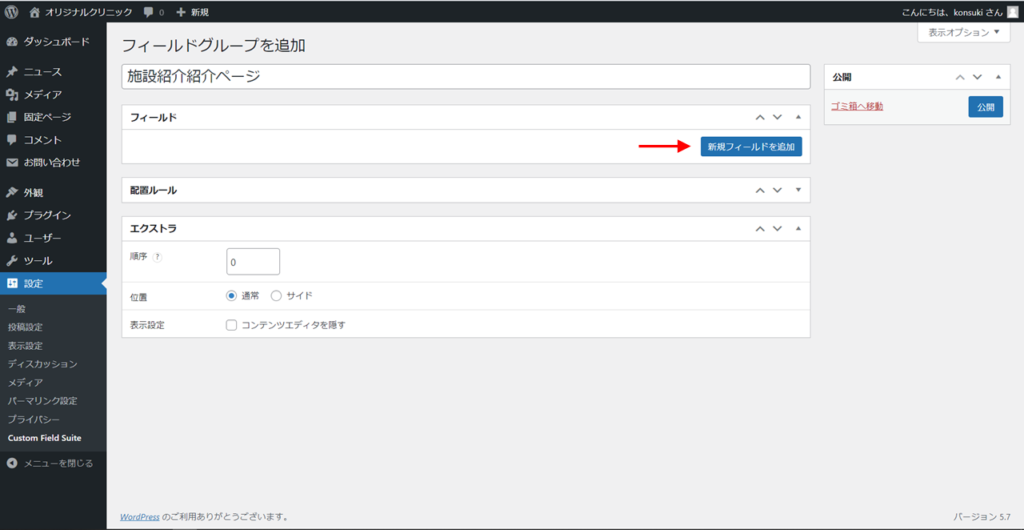
2. 「新規追加」ボタンをクリックします。
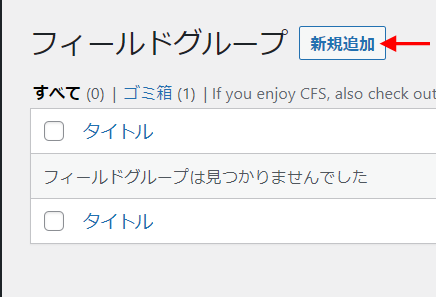
フィールドグループは複数のカスタムフィールドが集まったものです。
3. タイトルに「施設紹介ページ」と入力します。
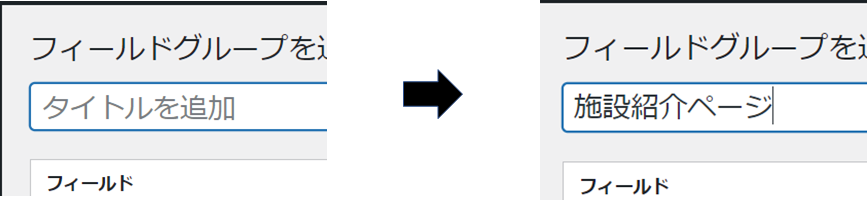
今回は施設紹介ページで使うためこのようなタイトルにしました。
フィールドグループの用途にあったタイトルを決めましょう。
4. 「新規フィールドを追加」ボタンをクリックします。
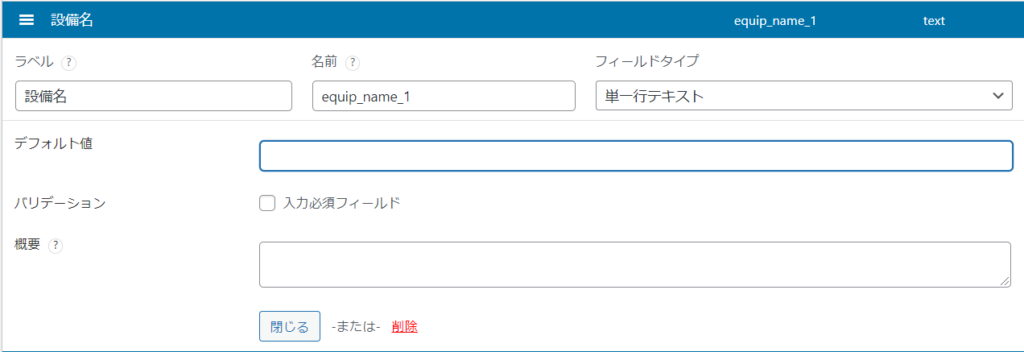
5. フィールドの設定は次のようにします。
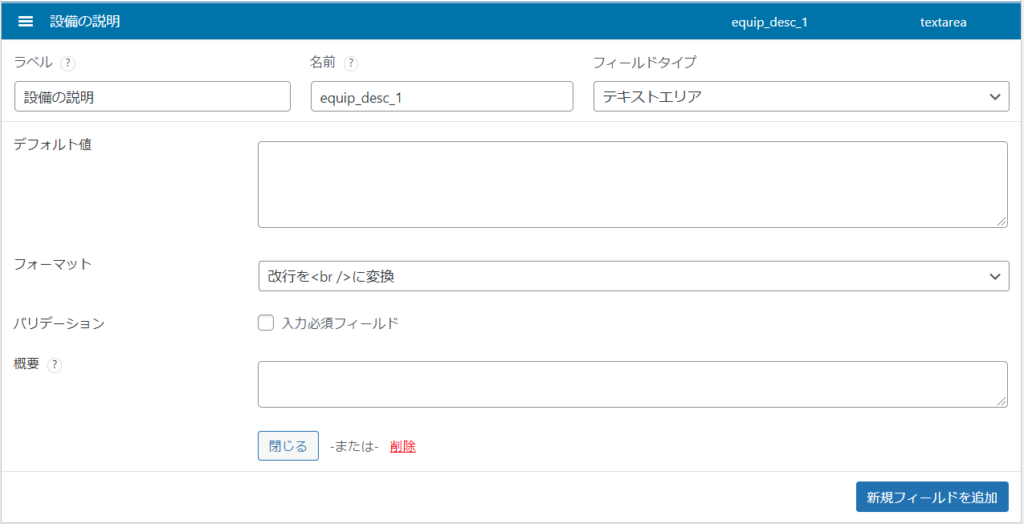
6. 右下の「新規フィールドを追加」ボタンを押して、次のようなフィールドも追加します。
7. ページの右上にある「公開」ボタンを押します。
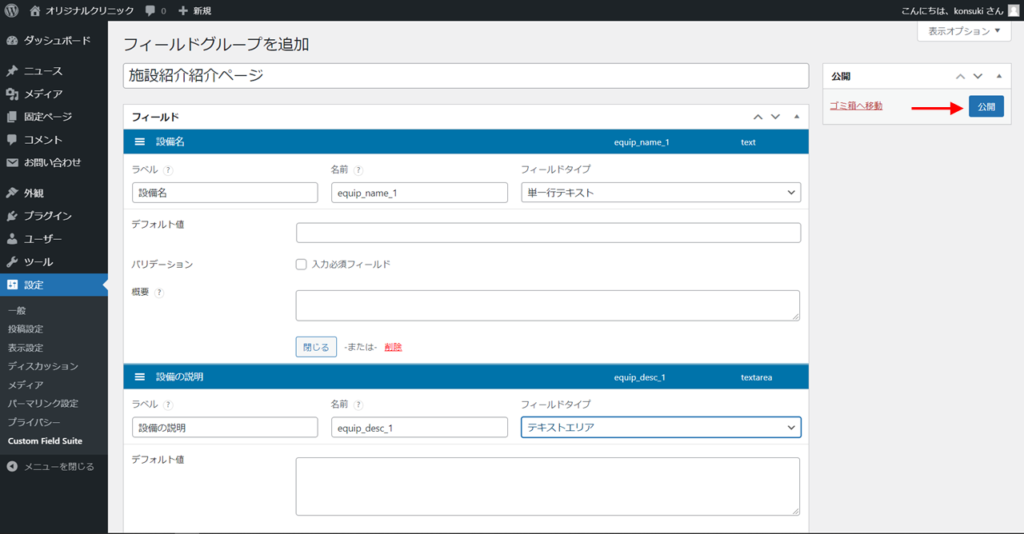
これでカスタムフィールドを作ることができました。
施設ページの編集画面からカスタムフィールドを編集しましょう。
8. 管理画面から「固定ページ > 固定ページ一覧」を選択してください。
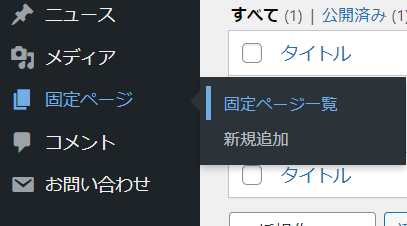
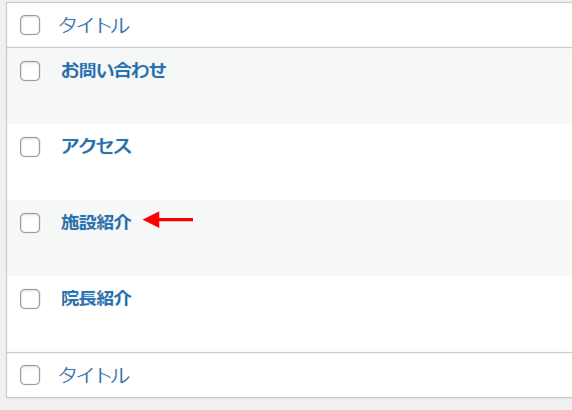
9. 固定ページ一覧の中から「施設紹介」を選択します。
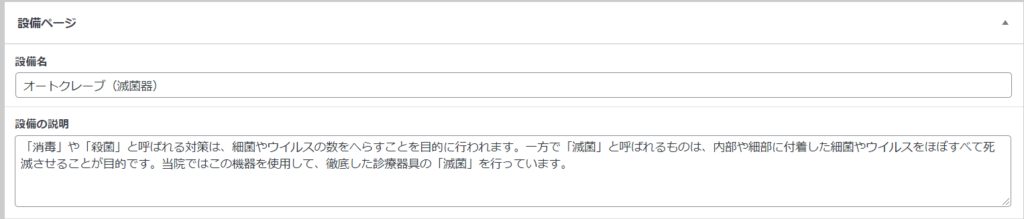
10. 画面の下の方にカスタムディレクティブの中身を入力するところが追加されたことを確認します。

11. 設備名の欄と設備の説明の欄にカスタムフィールドの中身を追加してみます。
後はこのカスタムフィールドを「facility.php」の中で使えばいいのですが、ここで1つ問題があります。
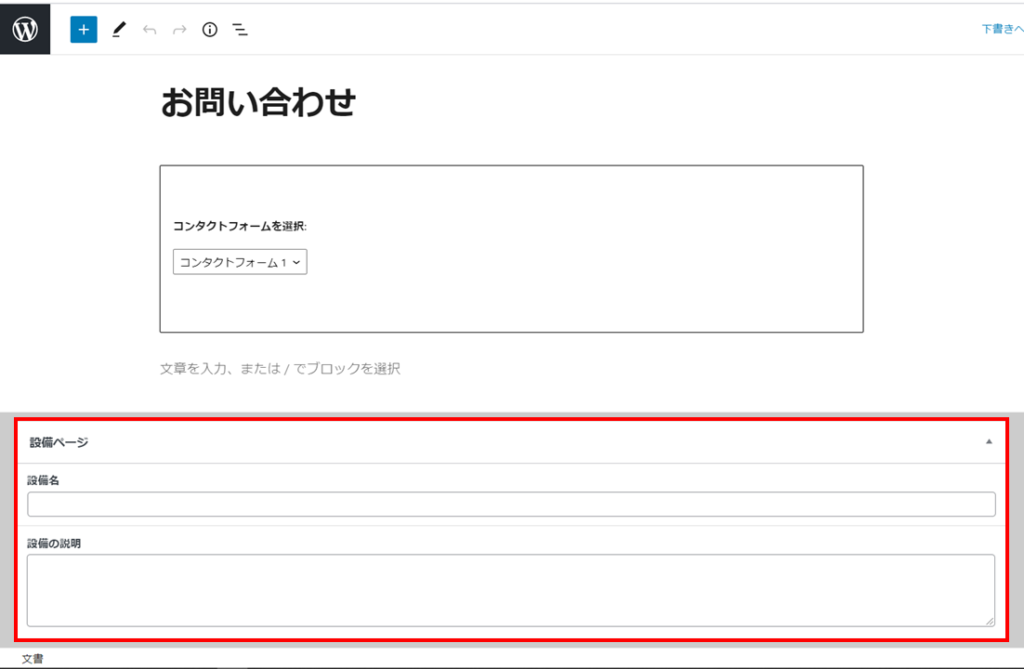
ほかの固定ページの編集画面を見てみると、「施設紹介」ページではないのに「施設紹介」ページに表示したいカスタムフィールドの中身を入力するところがあります。
このカスタムフィールドを使いたいのは「施設紹介」ページだけなのでこのようになっているのは問題です。
「施設紹介」ページだけにこのカスタムフィールドを使えるようにしていきます。
14. テーマファイルの中から、「page-facility.php」を選択します。

15. このファイルに次のようにコードを追加します。
<?php get_header(); ?>
<?php
/*
 Template Name: 施設紹介ページ
 */
?>
<div id="content" class="page_wrap page_inner">
	<div id="main">
   		<h2><?php the_title(); ?></h2>
		<div id="equipment">
			<h3 class="equip_name"></h3>
      		<p class="equip_desc"></p>
		</div>
	</div>
	<?php get_sidebar(); ?>
</div>
<?php get_footer(); ?>
16. 管理画面から「固定ページ > 固定ページ一覧」を選択してください。
17. 固定ページ一覧の中から「施設紹介」を選択します。
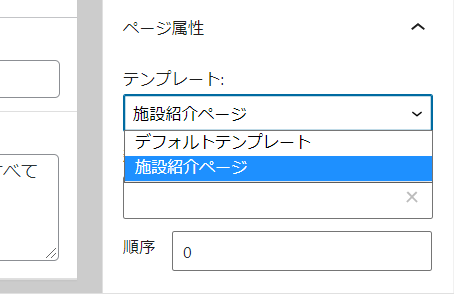
18. ページ右下にある「ページ属性」をクリックして設定を開きます。

19. 「テンプレート」の中から「施設紹介ページ」を選択します。
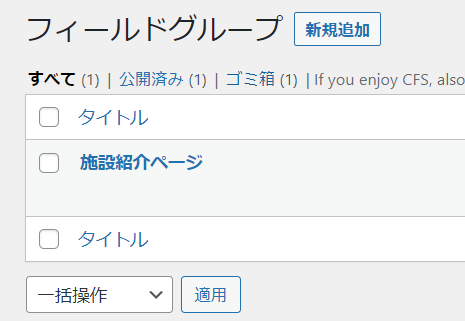
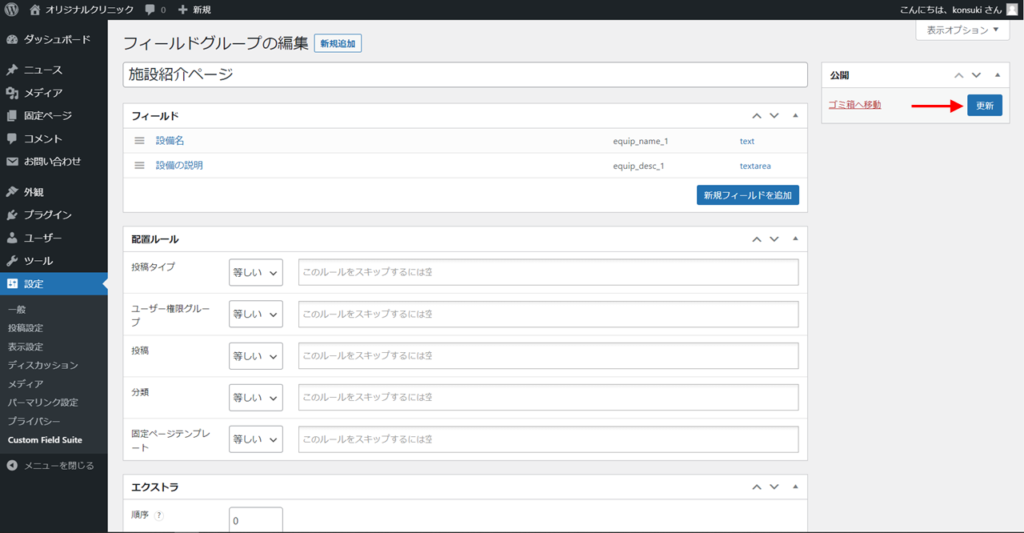
20. 管理画面から「設定 > Custom Field Suite」のように選択します。

21. 「施設紹介ページ」というカスタムフィールドのグループを選択します。
22. 「①配置ルール」の「②固定ページテンプレート」から「③施設紹介ページ」を選択します。
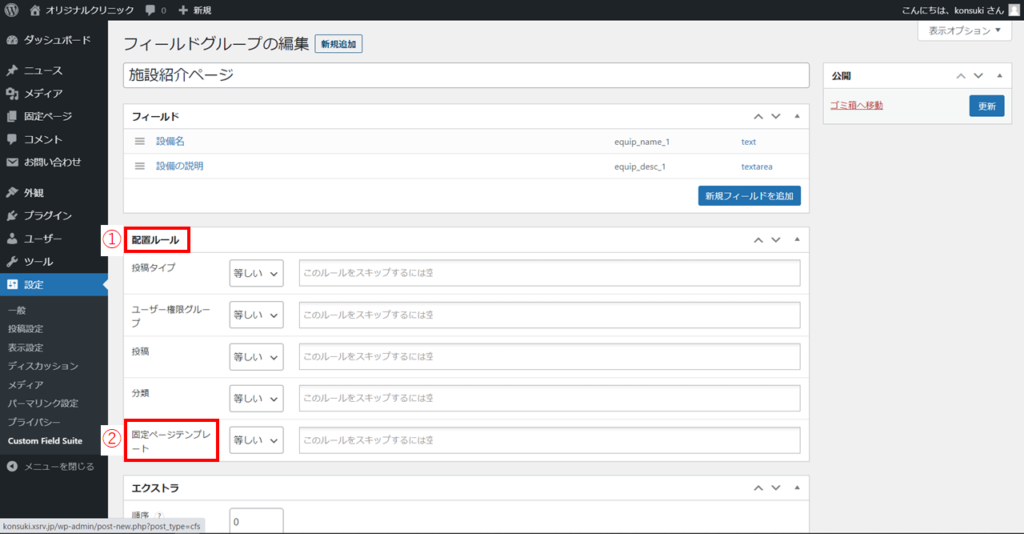
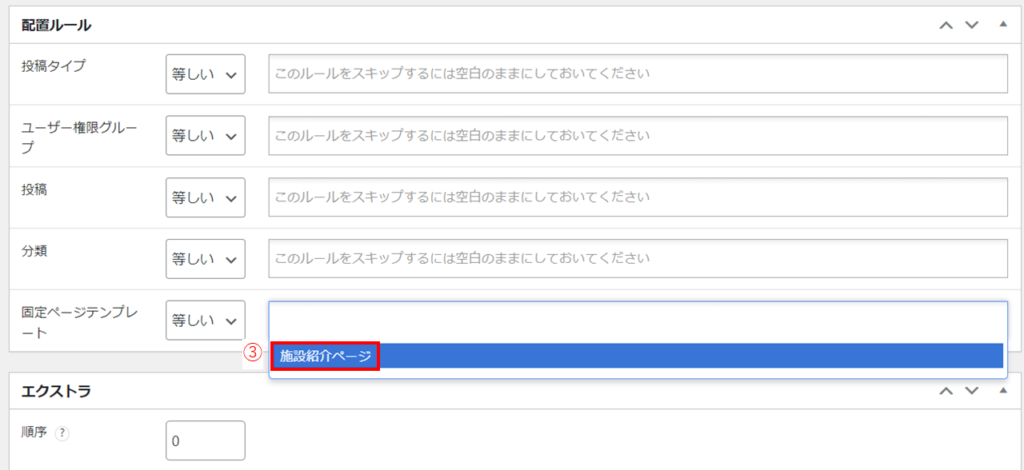
23. 画面右上にある「更新」ボタンを押します。
これで、「施設紹介」ページ以外の固定ページにおける編集画面では、カスタムフィールドの中身に入力するところが表示されなくなると思います。
カスタムフィールドの使用
プラグインを使ってここまでで作ったカスタムフィールドを「施設紹介」ページで読み込む「page-facility.php」ファイルの中で使います。
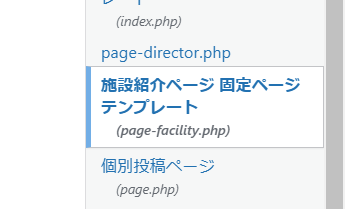
12. テーマファイルの中から、「施設紹介ページ 固定ページテンプレート(page-facility.php)」を選択します。
3. このファイルの内容に次のようにコードを書き足します。
<?php get_header(); ?>
<?php
/*
 Template Name: 施設紹介ページ
 */
?>
<div id="content" class="page_wrap page_inner">
	<div id="main">
   		<h2><?php the_title(); ?></h2>
		<div id="equipment">
			<h3 class="equip_name">1. <?php echo CFS()->get('equip_name_1'); ?></h3>
      <p class="equip_desc"><?php echo CFS()->get('equip_desc_1'); ?></p>
		</div>
	</div>
	<?php get_sidebar(); ?>
</div>
<?php get_footer(); ?>
11行目には「1. <?php echo CFS->get(‘equip_name_1’); ?>」が追加され、12行目には「<?php echo CFS->get(‘equip_name_1’); ?>」が追加されています。
ここでカスタムフィールドの編集画面を思い出してください。
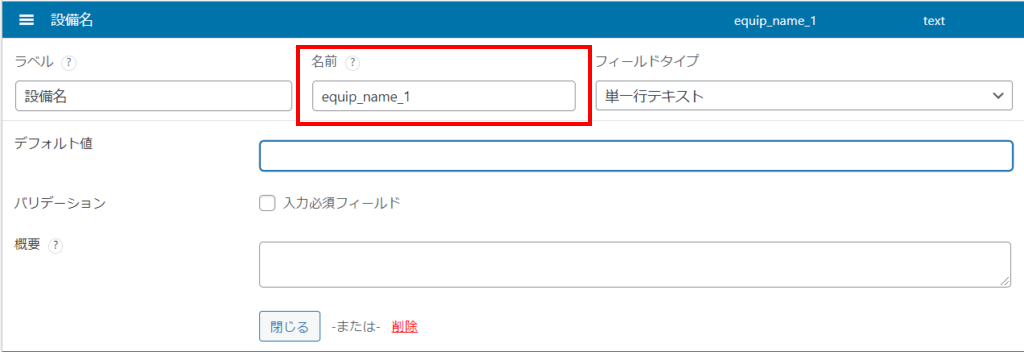
「名前」という設定項目がありました。
カスタムフィールドに設定した名前を使って<?php echo CFS->get(‘名前‘); ?>」のように書くことで、その名前が付いているカスタムフィールドの内容を表示させることができます。
カスタムフィールドを設置したことで、デザインが変わってしまう心配をせずに要素(文字や画像)だけを変えることができるになりました。
→「カスタムフィールドを再利用する手順」へ


コメント