
実用性については深く考えず、なんかかっこいいからという理由でTypeScriptを使ってWindowsアプリを作っていこうと思います。
Node.jsのインストール
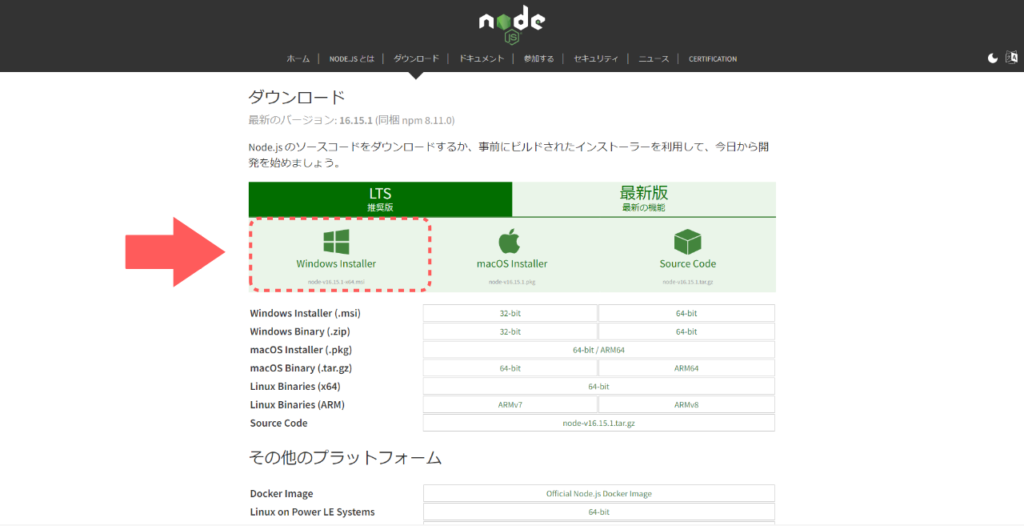
1. Node.jsのダンロードページに行きます
2. 「Windows installer」をクリックします。
3.ダウンロードされたファイルを開いてインストールをします。
特別な変更は必要なため、基本的には《Next》ボタンを押してインストールを完了させます。以下の点だけ、気をつけてください。
- Agreement → “I accept the terms in the License Agreement”にチェック
- Ready to install Node.js →《Install 》ボタンをクリック
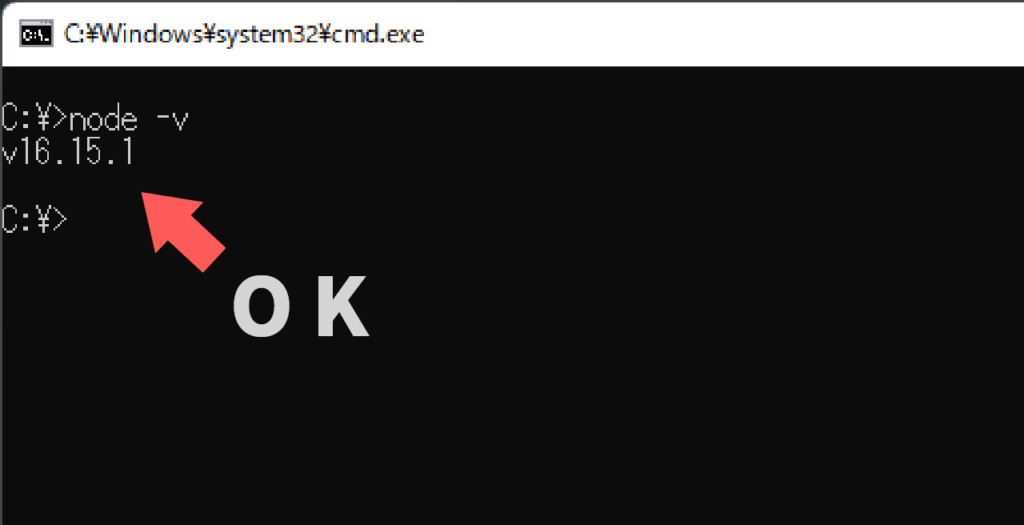
4.コマンドプロンプトからインストールできたかを確認します。
次のコマンドを実行してください。
node -v次のようにバージョンが表示されればインストールができています。
Electron使ったサンプルプロジェクトの作成
ElectronはHTML・CSS・JavaScriptを使用してデスクトップアプリを作れるフレームワークです。
1.プロジェクトフォルダをつくりたいフォルダに移動します。
次のコマンドを使って、アプリケーションのプロジェクトフォルダを作成したいフォルダに移動します
cd プロジェクトフォルダを作成したいフォルダのパス私の場合は”C:\Users\konsu”の中にプロジェクトフォルダを作りたいので、次のように入力して実行しました。
cd C:\Users\konsu2.サンプルプロジェクトを作成します。
npx create-electron-app@latest my-appサンプルプロジェクトの作成には、1分以上かかることがあります。
3.サンプルプロジェクトのフォルダに移動します
cd my-app4.サンプルプロジェクトをテストします。
npm start次のようなウィンドウが表示されればOKです。

アプリケーションに変更を加える
TypeScriptを使って好きな処理を書いていきます。
1.TypeScriptをインストールします。
npm install -g typescriptすでにインストールしてある方は上のコマンドを実行する必要ありません。
2.TypeScriptで処理を書きます。
一旦ここでサンプルプロジェクトのフォルダの中身を確認します。
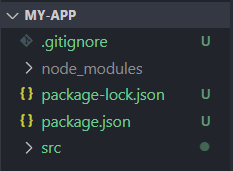
さらに、ここにあるsrcフォルダは、次のようなファイルで構成されています。
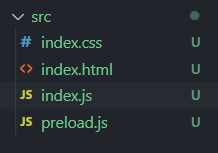
srcフォルダの中に「app.ts」というTypeScriptのファイルを作成します。
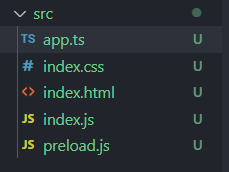
app.tsの中身は次のようになっています。
const input1: HTMLInputElement = <HTMLInputElement>document.getElementById('input1');
const input2: HTMLInputElement = <HTMLInputElement>document.getElementById('input2');
const calcBtn = document.getElementById('calc-btn');
const sum = document.getElementById('sum');

function plus(val1: number, val2: number) {
  return val1 + val2;
}

calcBtn!.addEventListener('click', function() {
  const tmpSum: number = plus(Number(input1.value), Number(input2.value));
  sum!.textContent = String(tmpSum);
});
3.index.htmlを変更します。
srcフォルダにある”index.html”の中身を次のように変更します。
<!DOCTYPE html>
<html>
  <head>
    <meta charset="UTF-8" />
    <title>足し算</title>
    <link rel="stylesheet" href="index.css" />
  </head>
  <body>
    <input type="number" id="input1">
    <input type="number" id="input2">
    <button id="calc-btn">計算する</button>
    <h1 id="sum"></h1>
    <script src="app.js"></script>
  </body>
</html>
12行目に”app.ts”ではなく”app.js“を読み込んでいる点に注意します。
4.app.tsをコンパイルします。
サンプルプロジェクトのフォルダにいる状態で次のコマンドを実行してください。
cd src
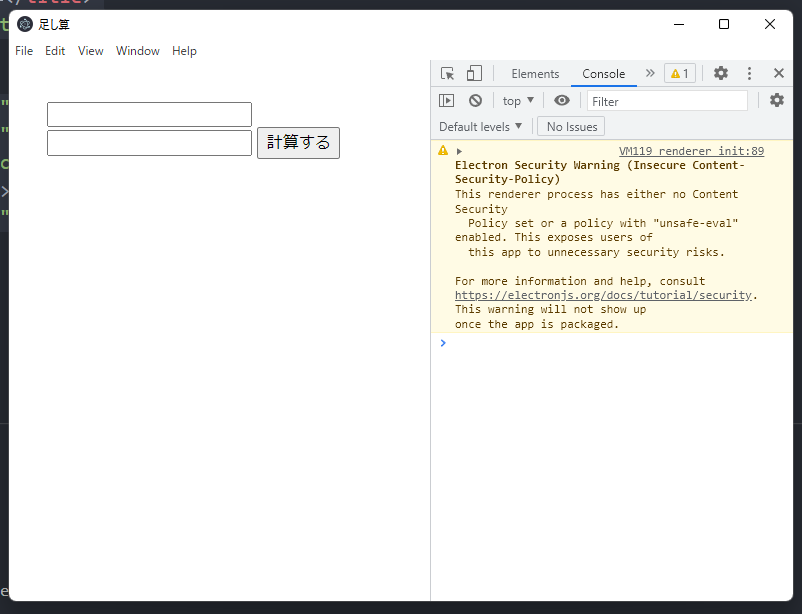
tsc app.ts5.アプリケーションが動くかテストします。
npm start無事ウィンドウが開いて実行されればOKです
パッケージング
これからこのアプリケーションをexe形式のファイルにしていきます。
1.exe形式にするためのパッケージをインストールします。
npm install electron-packager2.パッケージングします。
npm run packageプロジェクトフォルダに”out”というフォルダが作られて、その中にあるmy-app-win32-x64というフォルダにexeファイルがあります。
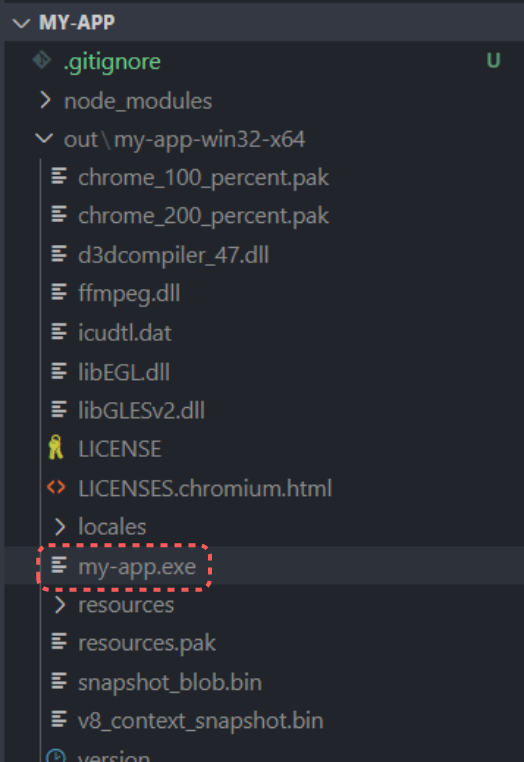
ダブルクリックして正常に実行されればWindowsアプリの完成です。このexeファイルが入っているフォルダごと移動すれば、他のパソコンでも実行する事ができます。


コメント