こんにちは、コンスキです。
今回はWordPressの管理画面からお問い合わせフォームを作っていきます。
プラグインの導入
お問い合わせフォームを作成するために使うプラグインは「Contact Form 7」というものです。
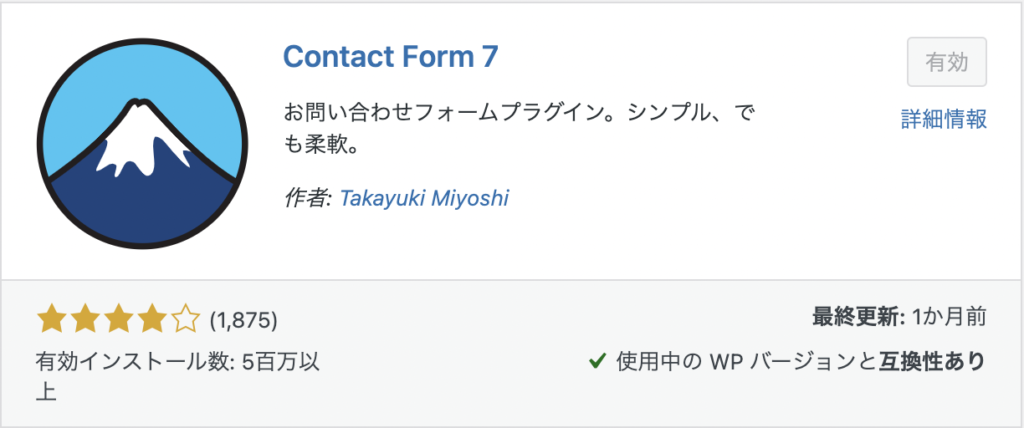
お問い合わせフォームを作るために、まだこのプラグインしか使ったことがないのですが、私的には設置までが簡単ですごく使いやすいと思います。
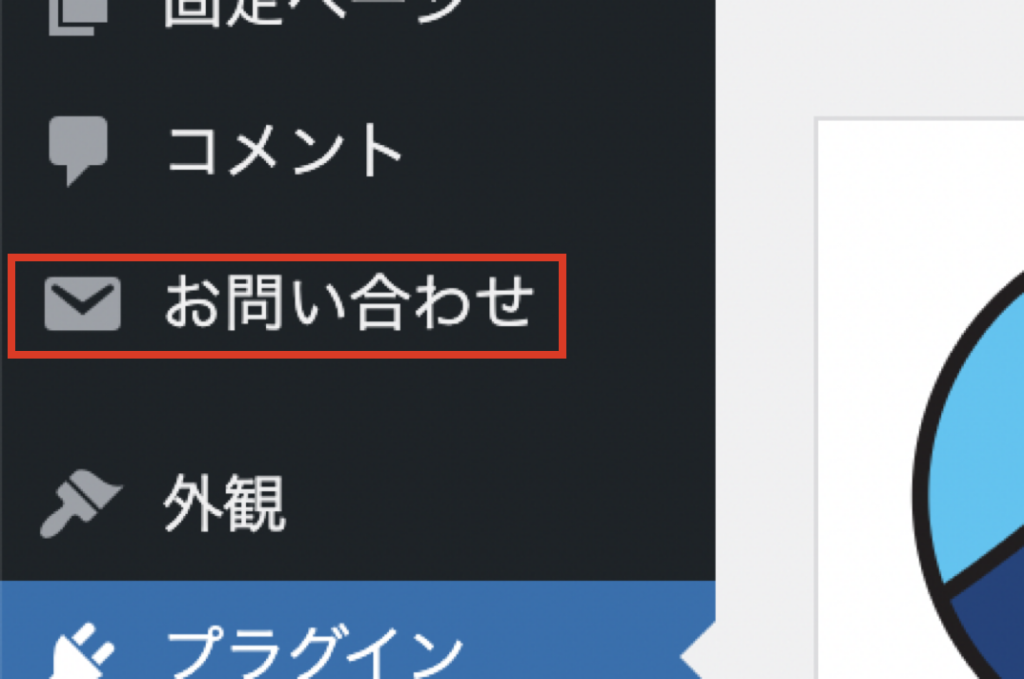
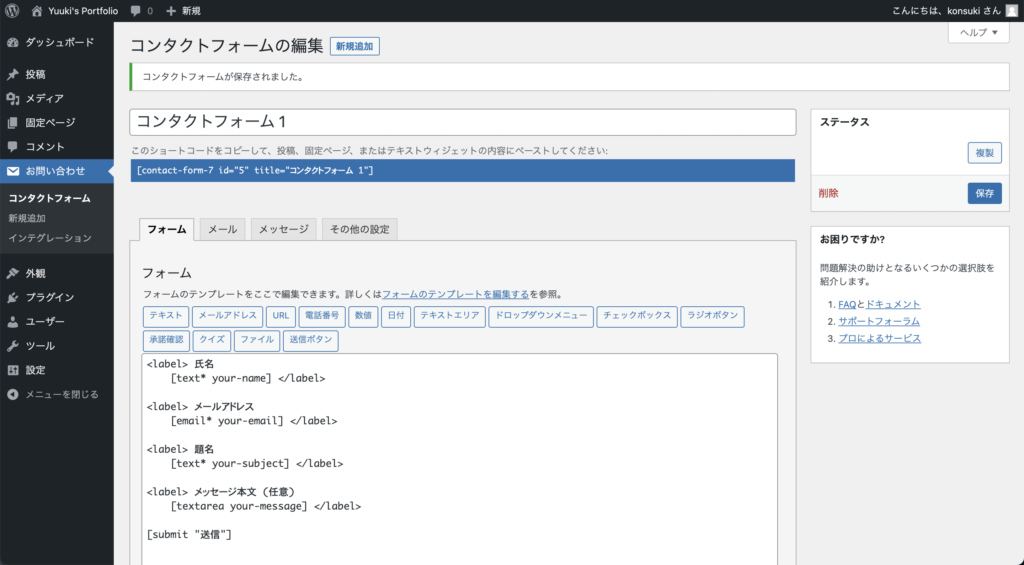
このプラグインを有効化すると、管理画面に「お問い合わせ」という項目が追加されるので、そこからお問い合わせフォームの設定を行います。
初めから「氏名」「メールアドレス」「題名」「メッセージ本文」という入力欄がフォームには含まれています。
比較的簡単に変更することができるのですが、今回はこのまま使います。
次にメールタブを選択してメールの送信先を設定します。
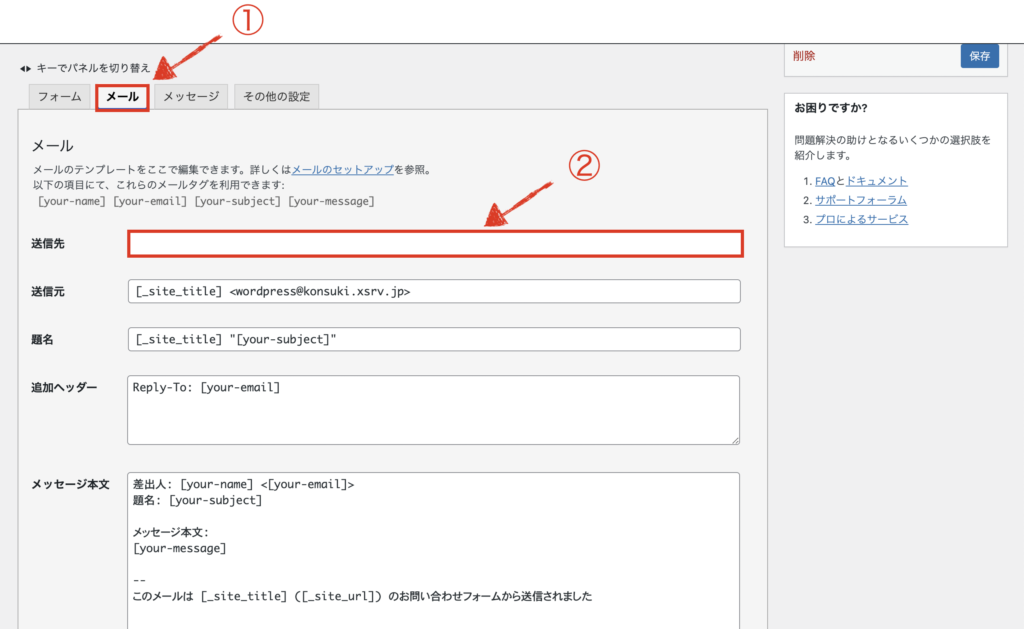
メールの送信先とは、お問い合わせフォームから送信したメールが届くメールアドレスのことです。
設定が完了したら、下の方にある保存ボタンを押すのを忘れないようにします。
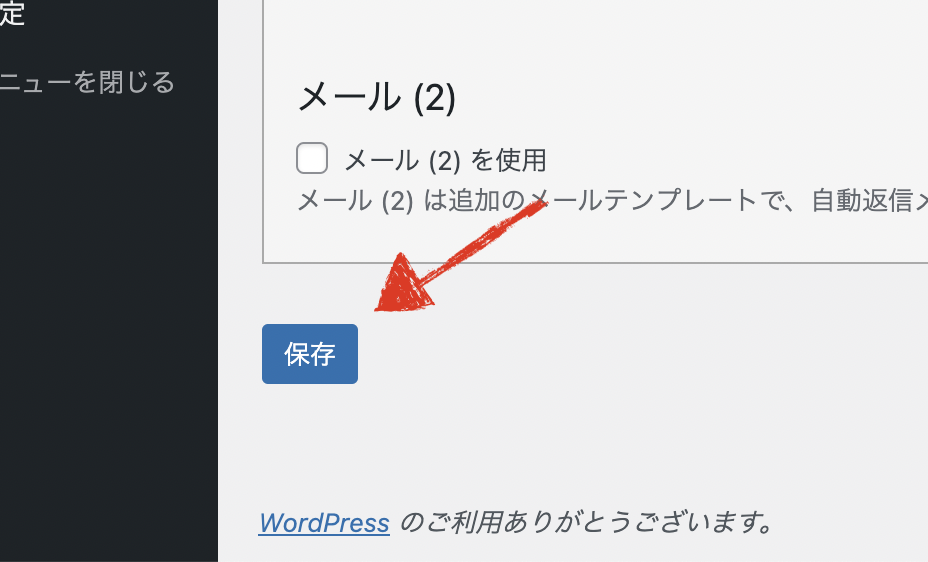
ものすごい手間を掛けて設定したのに、私は保存ボタンを押すのを忘れて絶望したことがあります😨💦
お問い合わせフォームの設置
この時点でお問い合わせフォームを作成するところまでが完了しました。
しかし、まだお問い合わせフォームを設置することができていません。
お問い合わせフォームを設置するためには、投稿ページや個別ページを作ってトップページに表示させる必要があります。
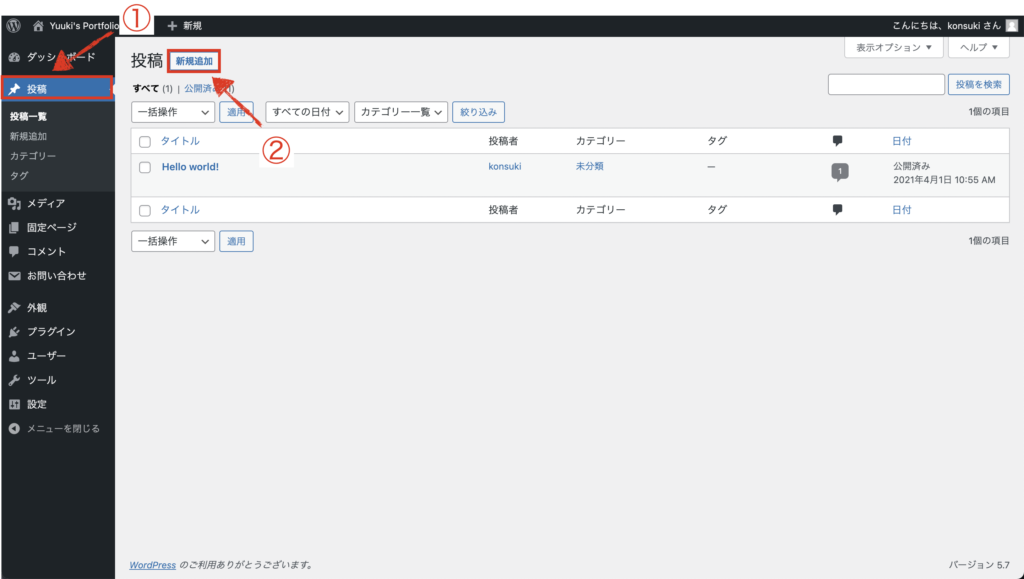
今回は投稿ページを作ってそれをトップページに貼ろうと思います。
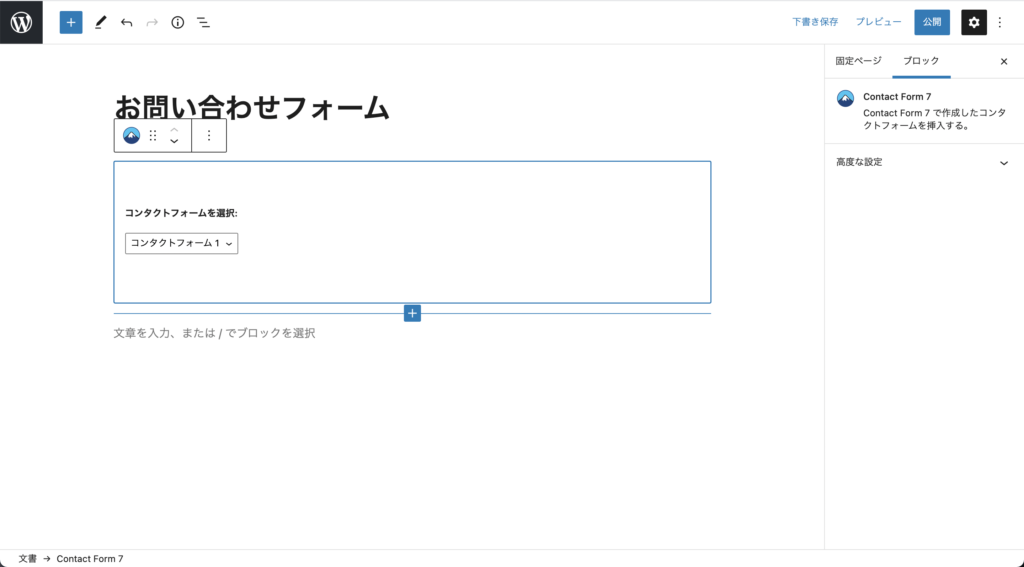
WordPress管理画面から「投稿 > 新規追加」のように選択していき新しい投稿を作成します。
タイトルは「お問い合わせフォーム」としておきます。
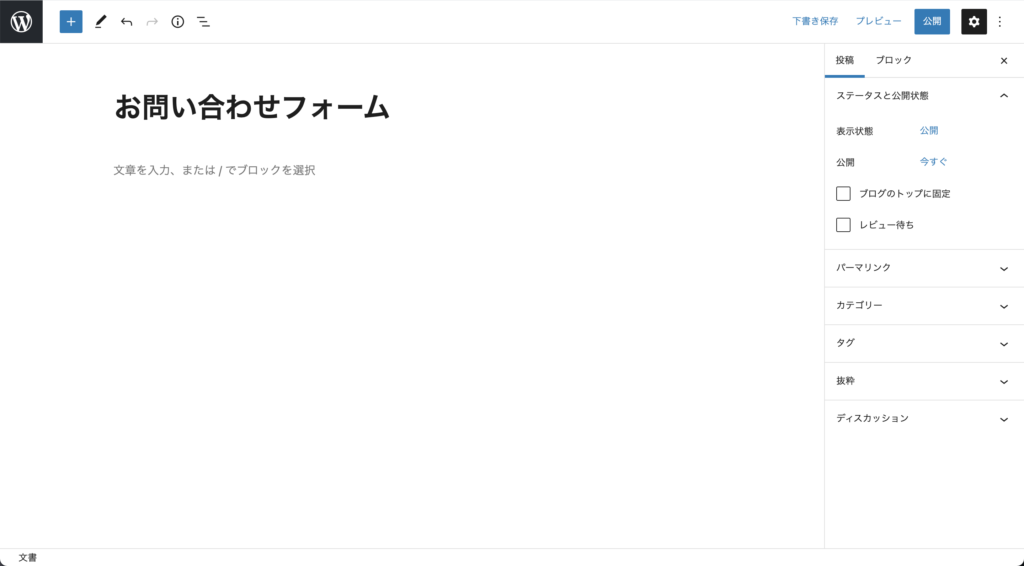
ブロックを追加して「Contact Form 7」を選択します。
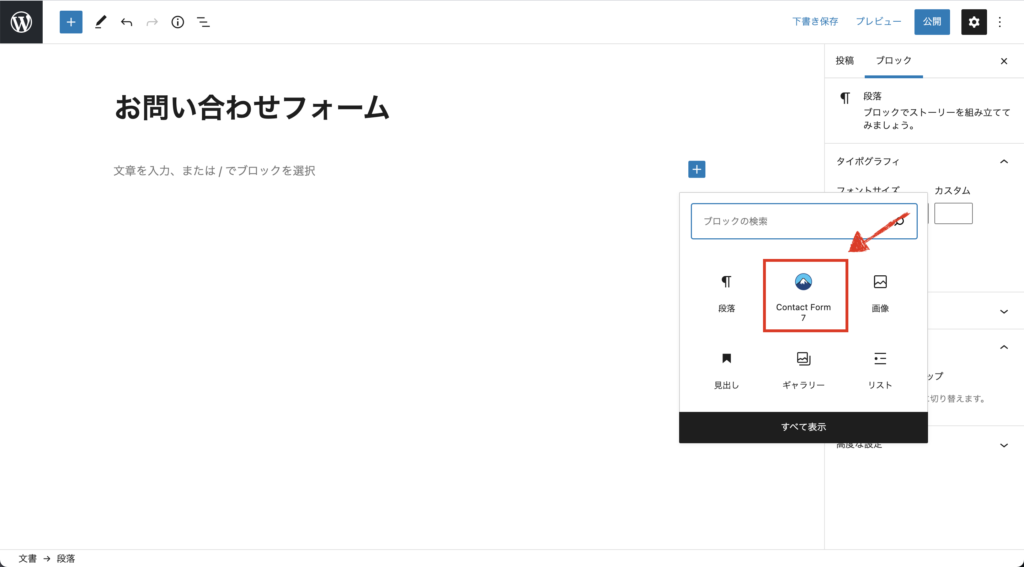
その後、使用するコンタクトフォームを選択します。
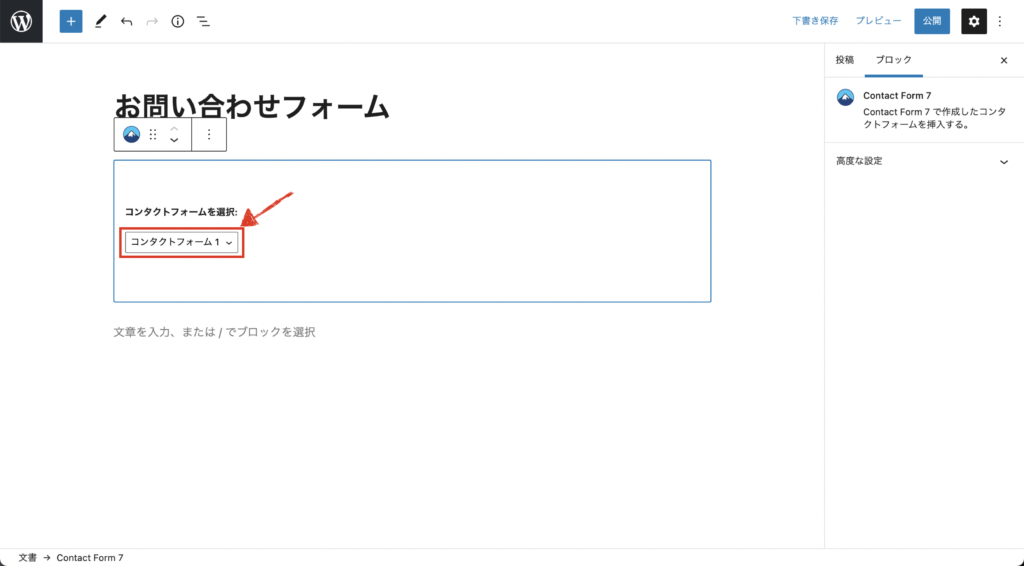
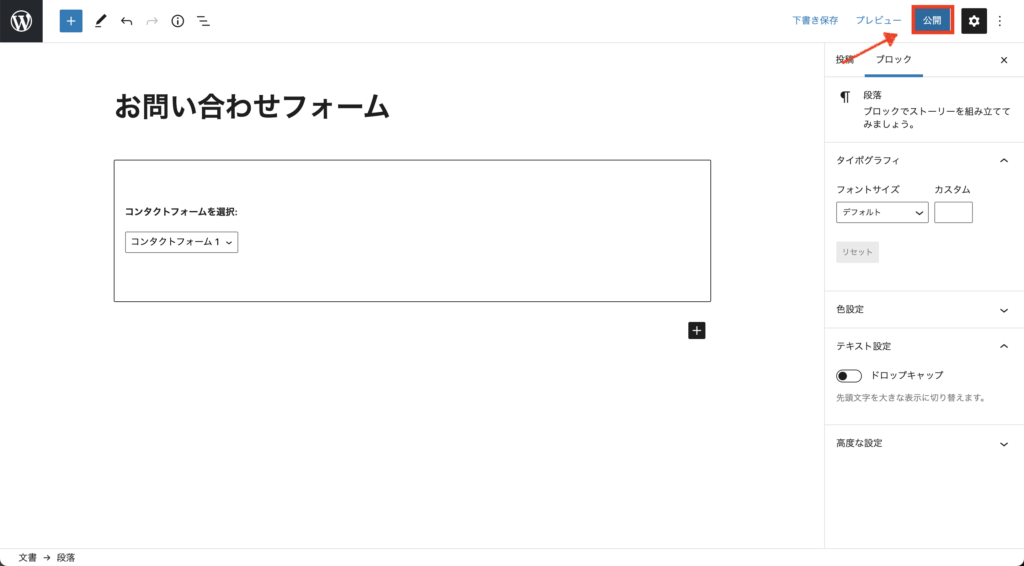
ここまでできたら、投稿を公開します。
front-page.phpの編集
あとは、front-page.phpのコードの中にこの投稿を表示させるコードを書けば終わりです。
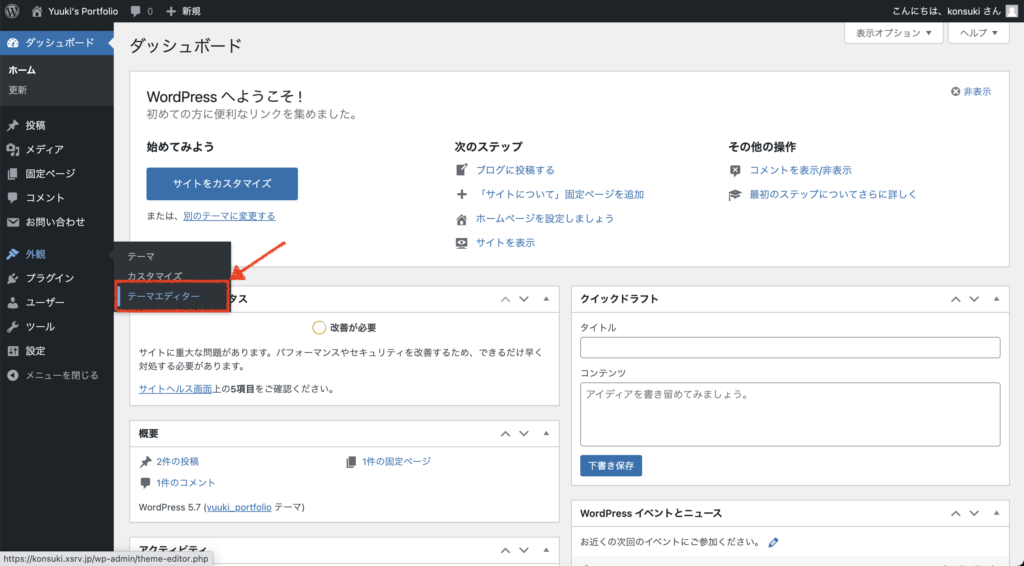
管理画面から「外観 > テーマエディター」の順番で選択します。
テーマファイルの中から「ホームページ(front-page.php)」を選択します。
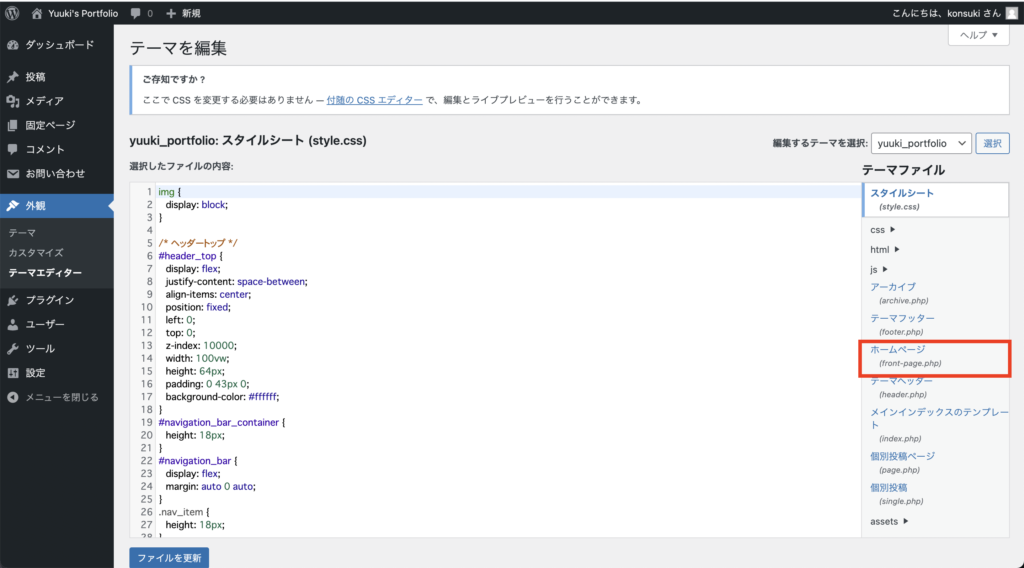
front-page.phpのContact部分のコードを次のように変更します。
<!-- Contactセクション -->
<div class="section" id="contact">
  <div class="heading">
    <div class="heading_text">
      <div class="heading_text_inner">
        <h2 class="heading_name">Contact</h2>
        <div class="to_single_page_container">
          <p class="to_single_page">個別ページはこちら</p>
          <svg class="arrow_circle_right" xmlns="http://www.w3.org/2000/svg" viewBox="0 0 512 512"><path d="M256 8c137 0 248 111 248 248S393 504 256 504 8 393 8 256 119 8 256 8zm-28.9 143.6l75.5 72.4H120c-13.3 0-24 10.7-24 24v16c0 13.3 10.7 24 24 24h182.6l-75.5 72.4c-9.7 9.3-9.9 24.8-.4 34.3l11 10.9c9.4 9.4 24.6 9.4 33.9 0L404.3 273c9.4-9.4 9.4-24.6 0-33.9L271.6 106.3c-9.4-9.4-24.6-9.4-33.9 0l-11 10.9c-9.5 9.6-9.3 25.1.4 34.4z"/></svg>
        </div>
      </div>
    </div>
    <div class="heading_img_container">
      <img src="<?php bloginfo("template_url"); ?>/assets/img/contact_heading.png" alt="" class="heading_img" width="720" height="426">
    </div>
    <div>
      <div class="content" id="contact_content">
			<!-- ループの始まり -->
			<?php if (have_posts()) : while (have_posts()) : the_post(); ?>
				<div class="contact_form"><?php the_content(); ?></div>
			<?php endwhile; endif ?>
			<!-- ループの終わり -->
      </div>
		</div>
</div>
19〜21行目までのコードが重要です。
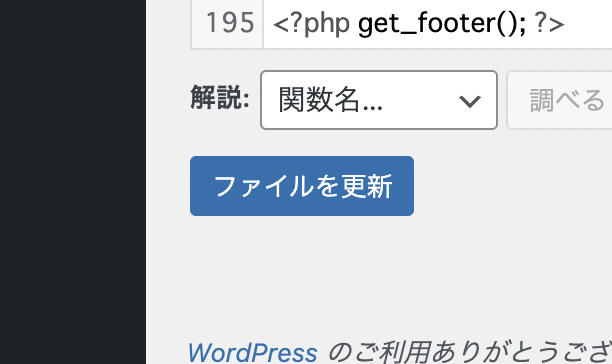
コードを書き換えることができたら、「ファイルを更新ボタン」を押します。
確認
ポートフォーリオサイトにちゃんと表示されているのか確認してみます。
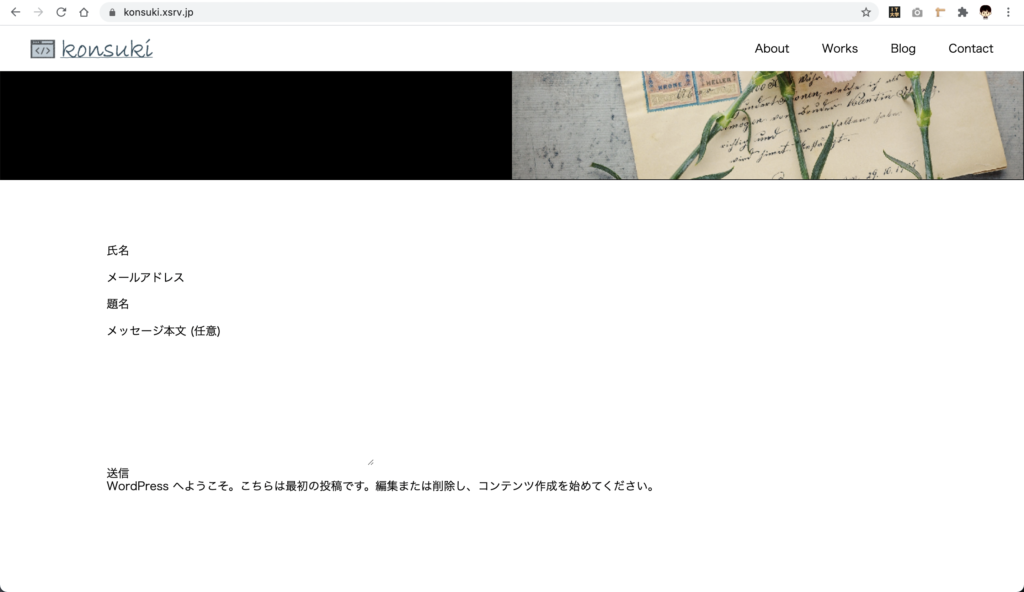
悲しいことに、サーバーにWordPressをインストールすると最初から公開済みの「こんにちは world!」という投稿まで表示されています。
ここで個別ページをトップページに表示した方が良かったのではないかと思ったため、少し変更をきうわえます。
WordPress管理画面から、「個別ページ > 新規作成」のように選択していき、先程公開した投稿と内容が全く同じの個別ページを作成して公開します。

その後、管理画面から「設定 > 表示設定」のように選択します。
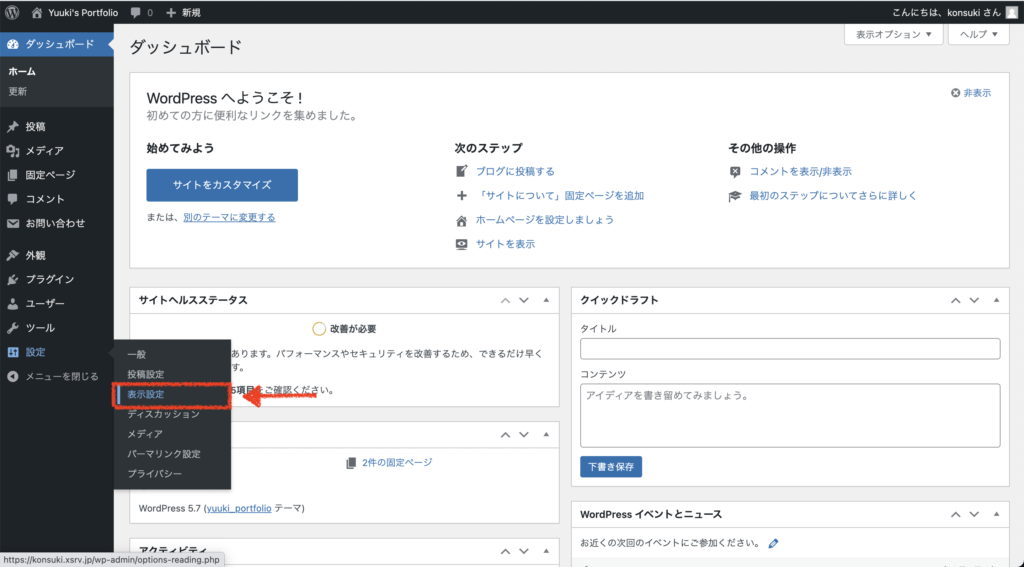
赤い四角の中にある「最新の投稿」と「固定ページ(以下で選択)」の中から「固定ページ(以下で選択)」の方を選びます。その後、「ホームページ:お問い合わせフォーム」のように設定します。

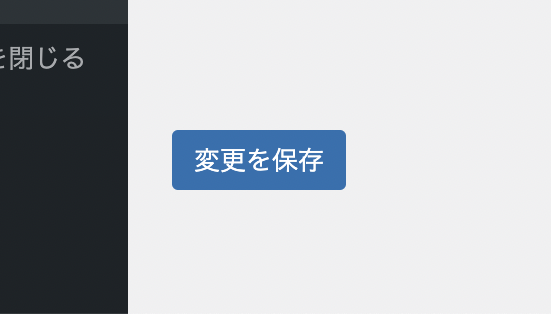
この設定が終わったら、下にある「変更を保存」と書かれたボタンを押します。
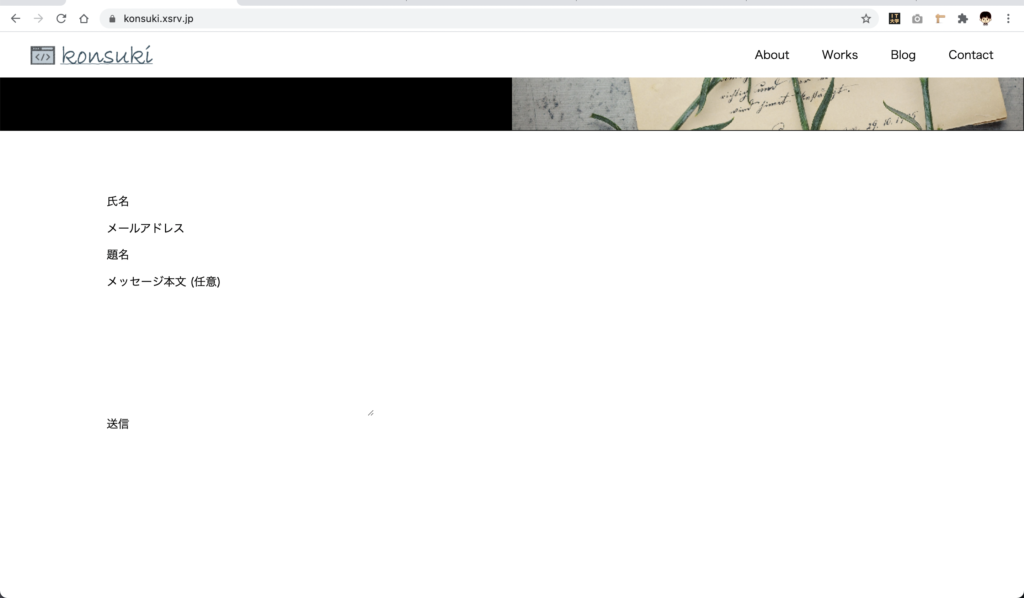
もう一度ポートフォーリオサイトを確認してみると、コンタクトフォームだけが表示されるようにななっていました。
デザイン
テーマファイルの中にあるstyle.cssに次のコードを書き加えて、GIMPで作ったデザインのような見た目に近づけます。
/* Contactセクション */
/* 内容 */
#contact_content {
padding: 40px 0;
height: 780px;
}
#contact_content_title {
color: #9e9e9e;
font-size: 18px;
}
/* コンタクトフォーム */
.search-edit, input[type="text"], input[type="password"], input[type="date"], input[type="datetime"], input[type="email"], input[type="number"], input[type="search"], input[type="tel"], input[type="time"], input[type="url"], textarea, select {
padding: 11px;
margin-top: 5px;
border: 1px solid #ccc;
border-radius: 4px;
font-size: 18px;
width: 100%;
}
input[type='submit'] {
-webkit-appearance: none;
color: #ffffff;
border: 1px solid #ddd;
background-color: #000000;
text-align: center;
}
input[type='submit'], #bbp_reply_submit, .bp-login-widget-register-link a {
padding: 11px;
width: 100%;
margin: 0;
cursor: pointer;
}
.contact_form p {
margin-bottom: 1.8em;
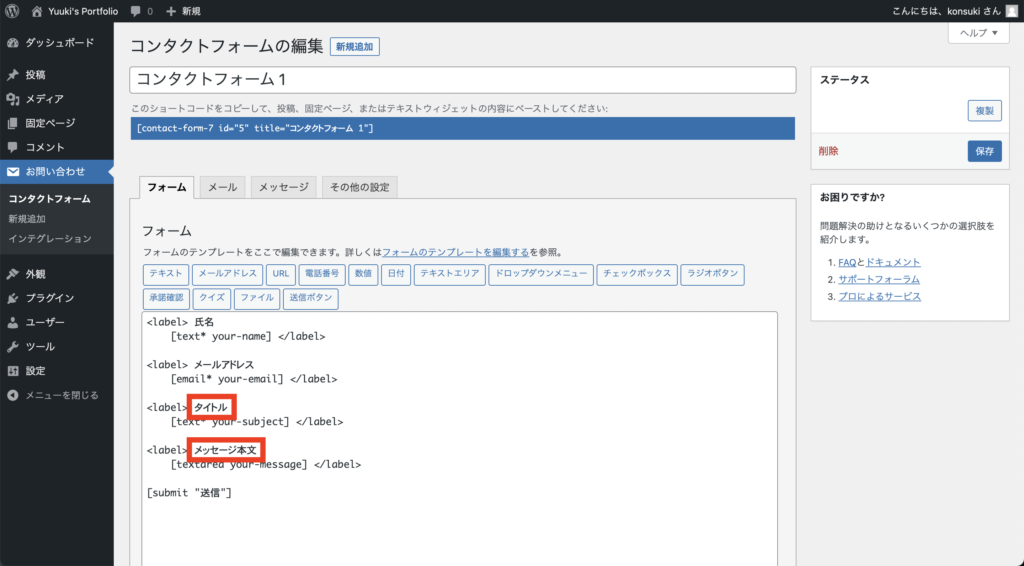
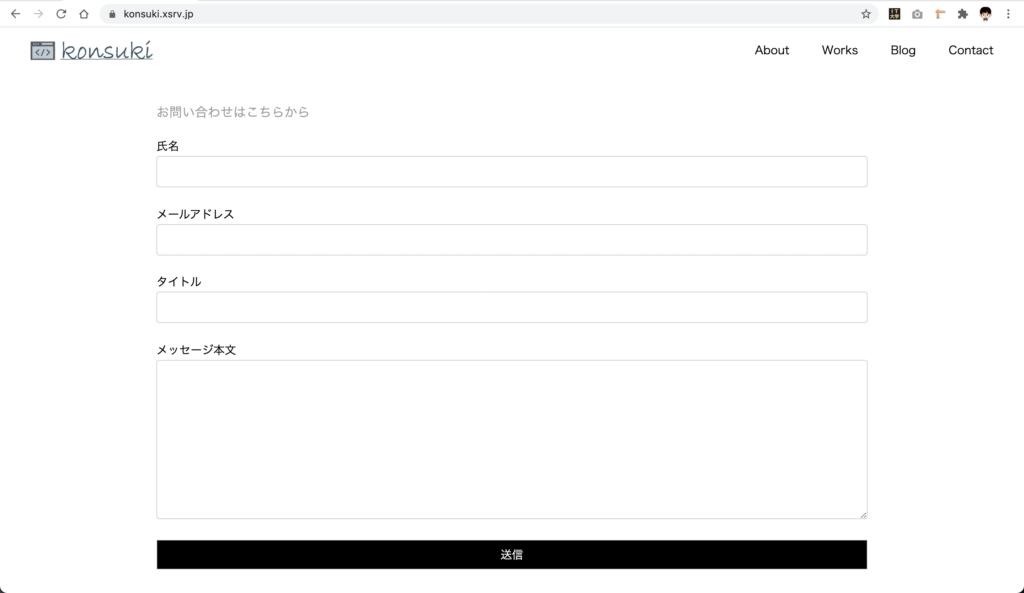
}GIMPのデザインに合わせて「題名」を「タイトル」に変え「メッセージ本文(任意)」を「メッセージ本文」に変更しました。
デザインを変更した後のお問い合わせフォームは次のようになりました。


コメント