こんにちは。コンスキです。
今回は、前回作った要素にCSSでスタイルを適用することで見た目を整えていきます。
画像を入れる
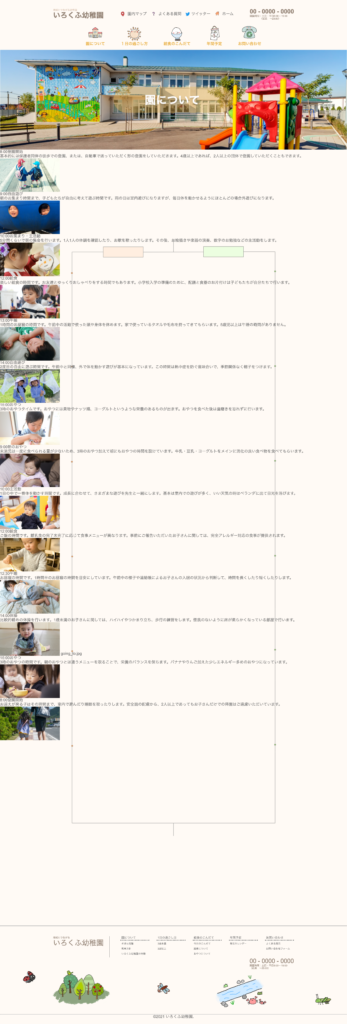
CSSを書く前に、img要素のsrc属性に画像のパスを入れます。
吹き出しを作る
CSSで枠線を作ることで吹き出しっぽくします。

次のようなスタイルを効かせます。
#going_to {
  width: 296px;
  height: 293px;
  background-color: #fff;
  border: 1px solid #707070;
}
.balloon_over {
  position: relative;
  width: 305px;
  height: 293px;
  margin-left: auto;
  background-color: #fff;
  border: 1px solid #707070;
}
.balloon_over:before {
  content: "";
  position: absolute;
  top: 15%;
  left: -24px;
  margin-top: -12px;
  border: 12px solid transparent;
  border-right: 12px solid #fff;
  z-index: 2;
}
.balloon_over:after {
  content: "";
  position: absolute;
  top: 15%;
  left: -28px;
  margin-top: -14px;
  border: 14px solid transparent;
  border-right: 14px solid #707070;
  z-index: 1;
}
.balloon_under {
  position: relative;
  width: 305px;
  height: 293px;
  background-color: #fff;
  border: 1px solid #707070;
  filter: drop-shadow(15px 15px 0 #FFEDDE);
}
.balloon_under::before {
  content: "";
  position: absolute;
  top: 15%;
  right: -24px;
  margin-top: -12px;
  border: 12px solid transparent;
  border-left: 12px solid #FFF;
  z-index: 2;
}
.balloon_under::after {
  content: "";
  position: absolute;
  top: 15%;
  right: -28px;
  margin-top: -14px;
  border: 14px solid transparent;
  border-left: 14px solid #707070;
  z-index: 1;
}
#coming_from {
  width: 296px;
  height: 293px;
  background-color: #fff;
  border: 1px solid #707070;
}
ブラウザに表示すると次のようになります。

位置の調整
吹き出しの位置を調整します。
#balloon {
  display: flex;
  justify-content: space-between;
  width: 704px;
  height: 2258px;
  margin: 106px auto;
}
#balloon_over_row,
#balloon_under_row {
  display: flex;
  flex-direction: column;
  justify-content: space-between;
  height: 100%;
}
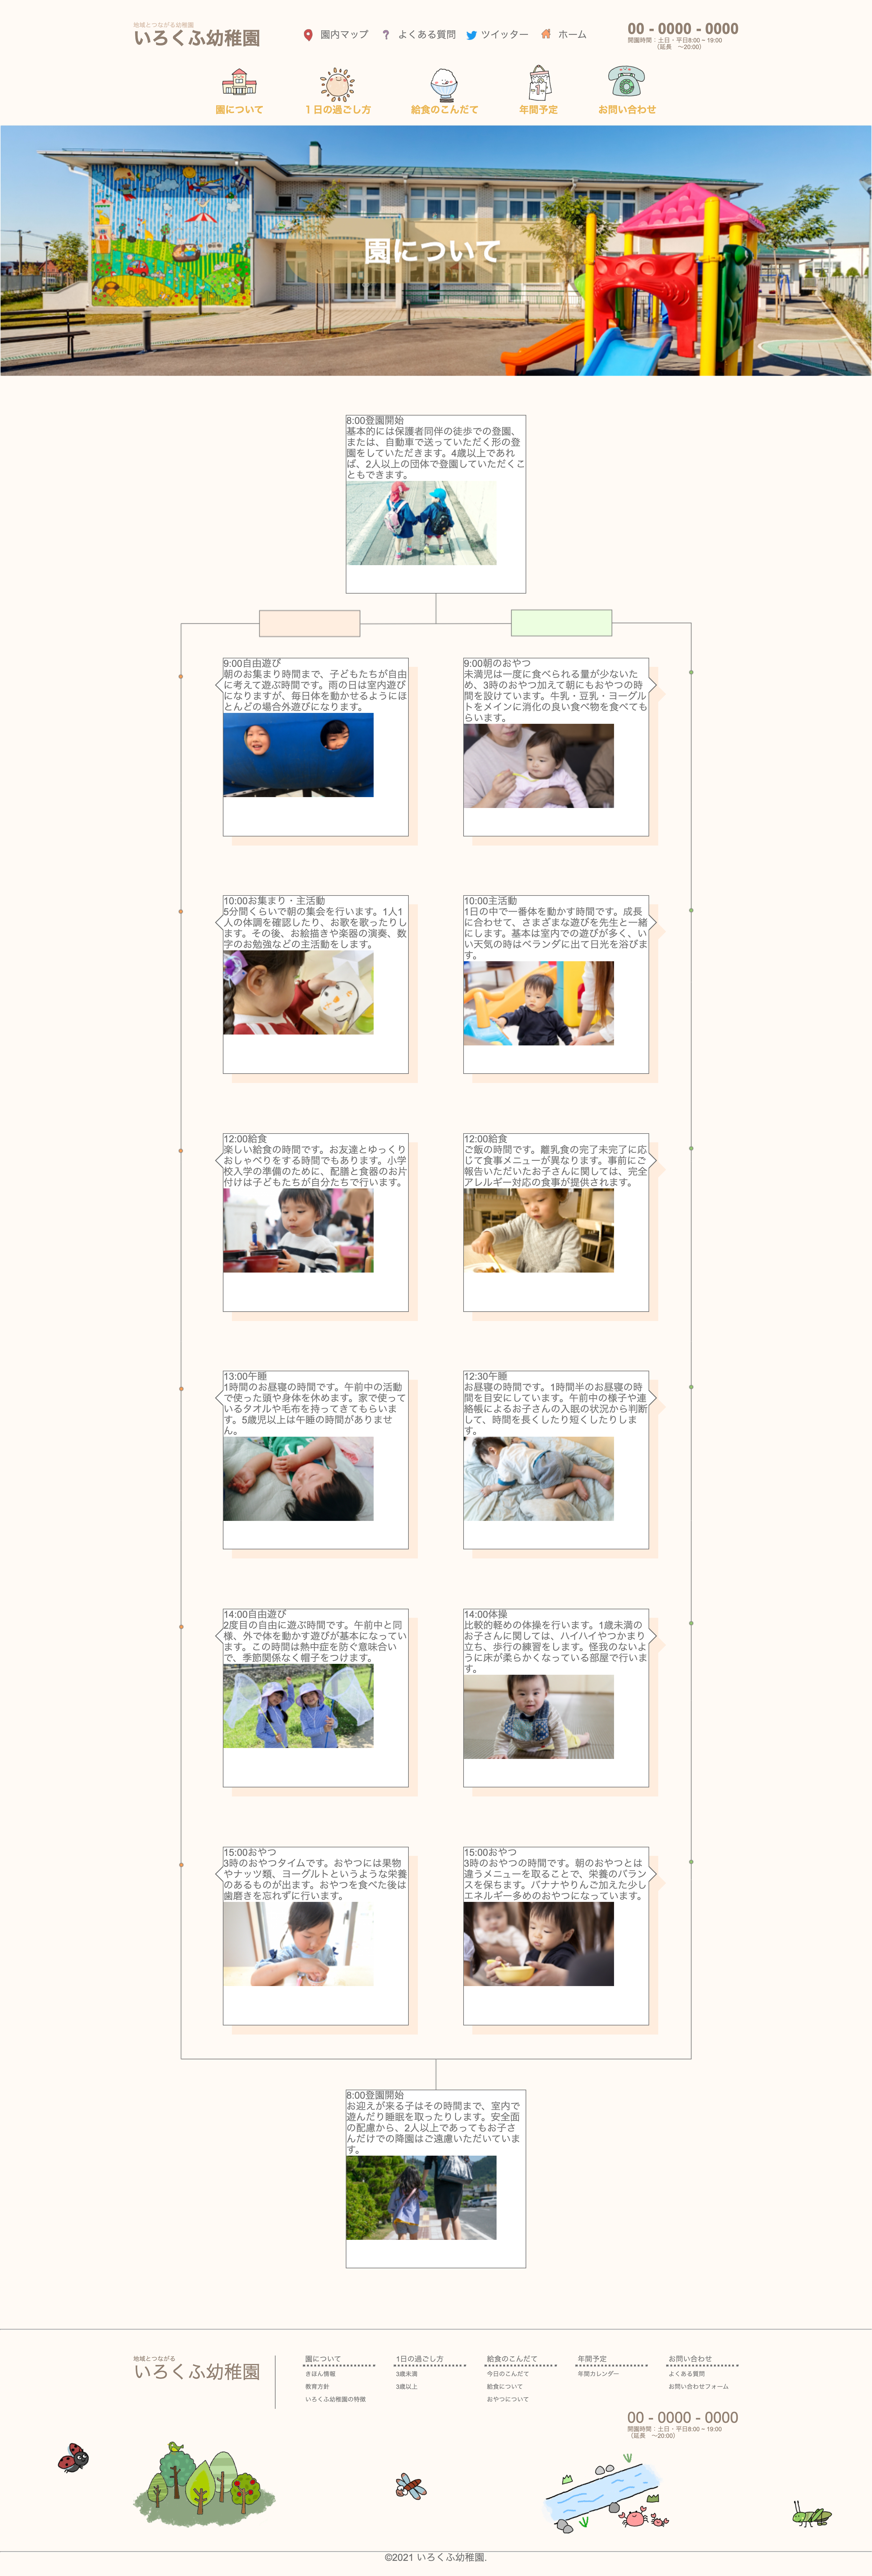
ブラウザに表示すると次のようになります。
メインビジュアルを変える
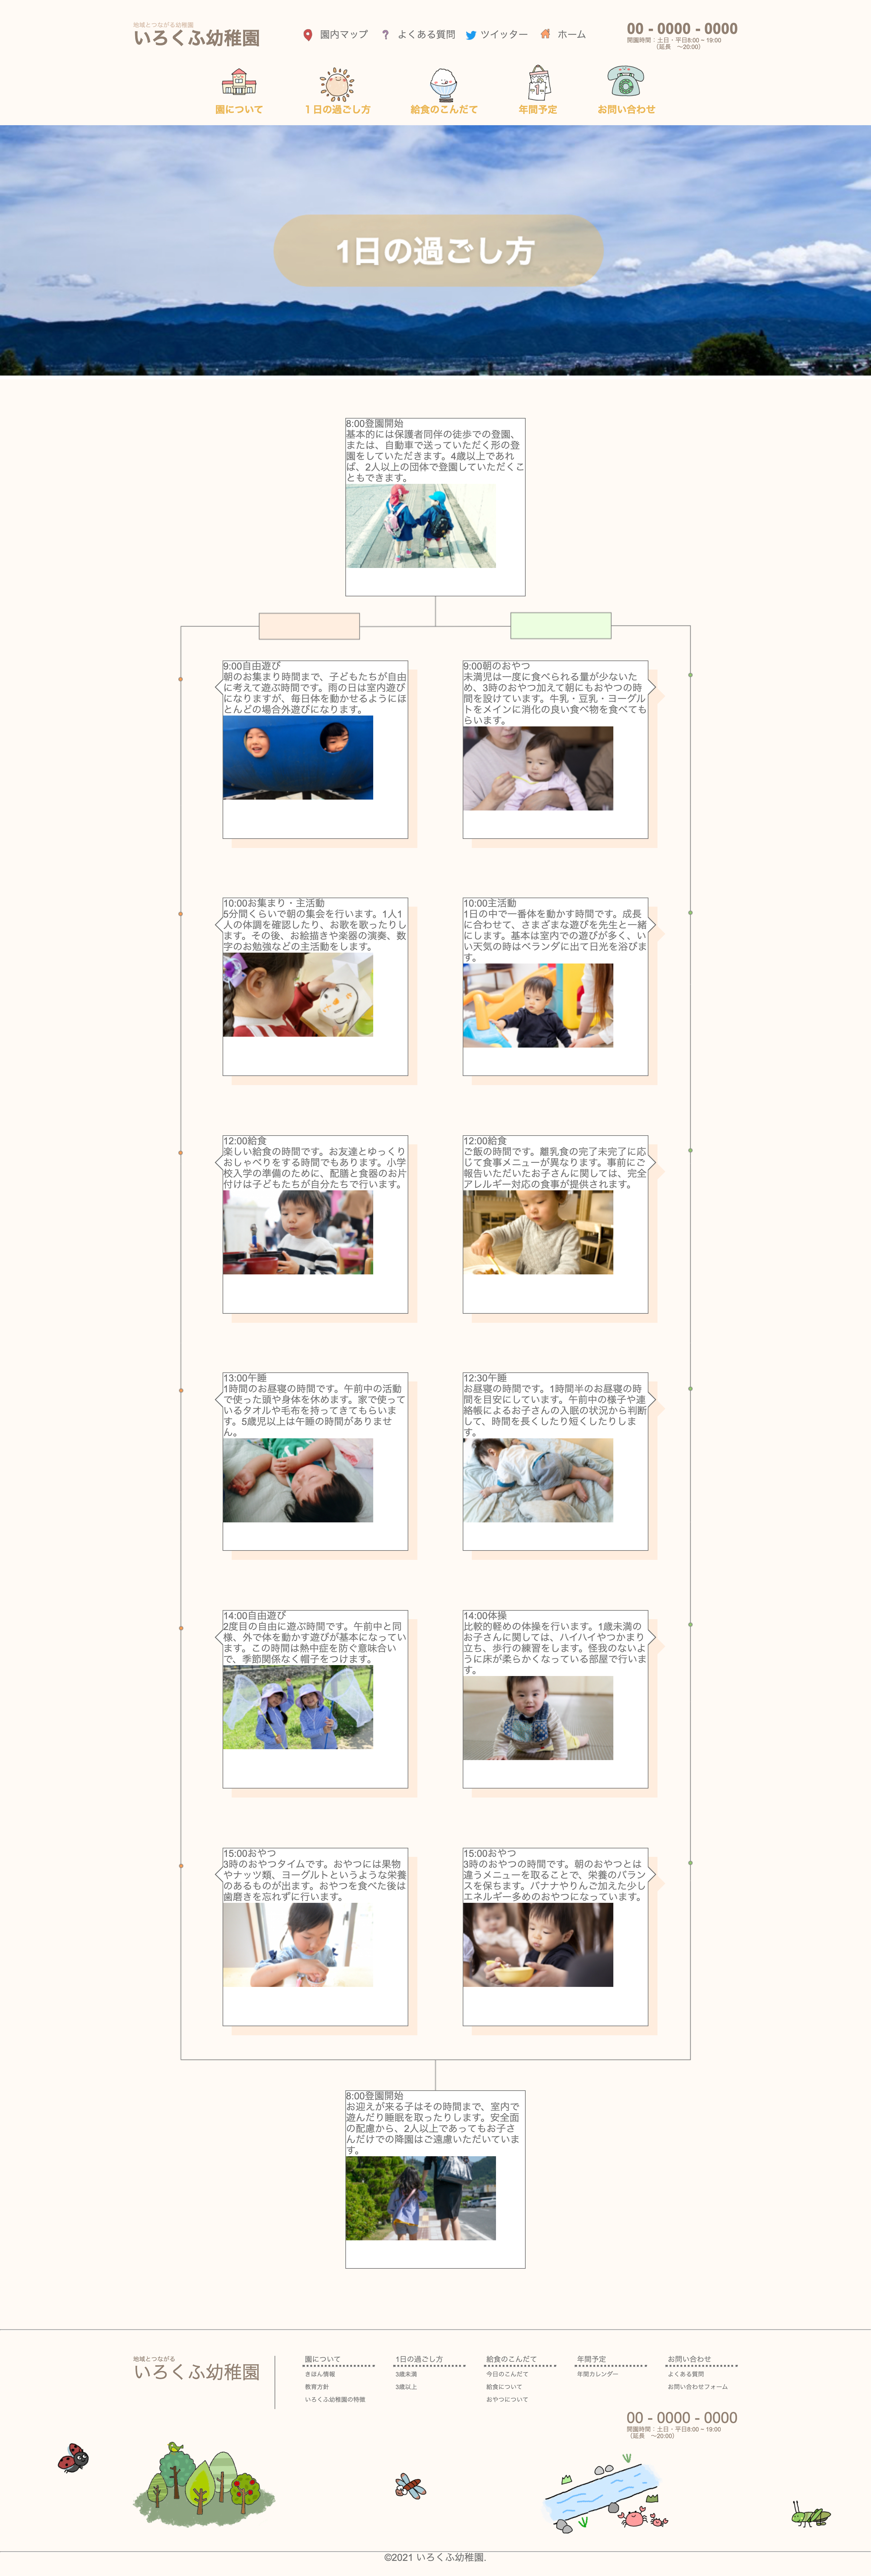
メインビジュアルを変え忘れていました。
2ページ目のメインビジュアルのままになっているので、3ページ目のメインビジュアルに変えます。


コメント